No one likes to look at a dull, gray deck in their backyard. But the thought of hours and hours of labor, sanding and staining to restore it can be overwhelming.
Good news! You may not need to totally strip or sand your deck before applying a fresh coat of stain. So how do you go about restaining without resorting to these labor-intensive methods?
Clean your deck thoroughly with a deck cleaner and let it dry. Select a high-quality stain, preferably matching the old color. Apply two overlapping coats evenly. After it’s dried, seal the deck to shield against harsh weather and UV. This method is most effective if the old stain is still in decent condition.
In this blog, I’ll show you exactly how to do just that without any stripping or sanding – plus, some handy tips on how best to maintain it.
Let’s begin!
You’ll learn all the necessary steps in prepping the surface of your deck as well as which products will give you the most beautiful results when restaining.
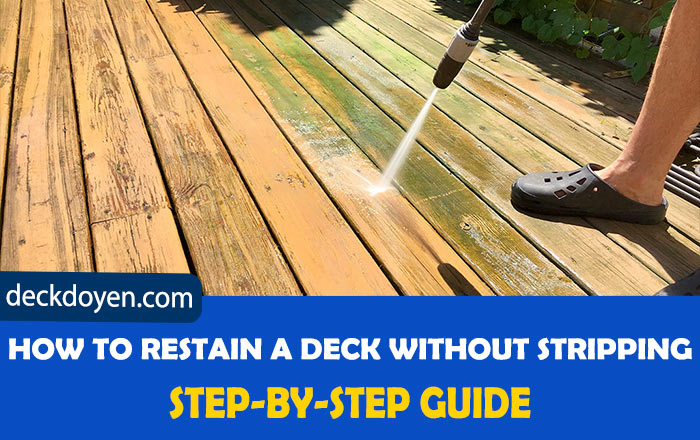
Restaining Your Deck Without Stripping: Step-By-Step Guide!
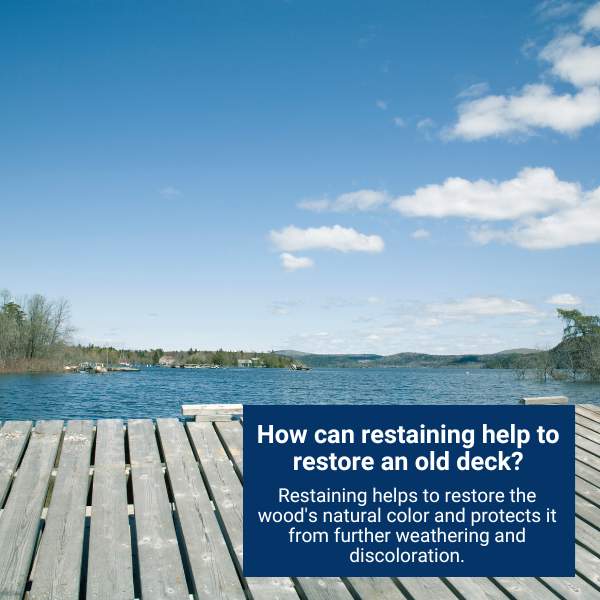
Restaining your deck is essential for its longevity and protection. Not only does it brighten up the wood, but it also adds an extra layer of UV protection to prevent fading and helps preserve the wood from rot and decay.
Refreshing your deck’s stain is especially important if you live in an area that experiences harsh weather conditions, which can lead to discoloration and other damage.
Using a restaining technique rather than traditional stripping is beneficial because it saves time, money, effort, and mess.
The process involves the following steps:
1. Carefully Select The Best Stain And Supplies
When it comes to choosing your stain and tools for a restaining project, there are several factors to consider:
- It is important to select the right stain and finish for your deck. Make sure to choose a product that has good reviews, is appropriate for your type of wood, and fits within your budget.
- Oil-based stains provide deeper penetration into the wood, whereas water-based formulas offer more color choices and easier application but don’t penetrate as deeply.
- For best results, use a semi-transparent wood finish that will allow the natural grain of the wood to show through.
- You should also make sure that you buy enough stain for at least two coats so that you can ensure even coverage across the entire deck surface.
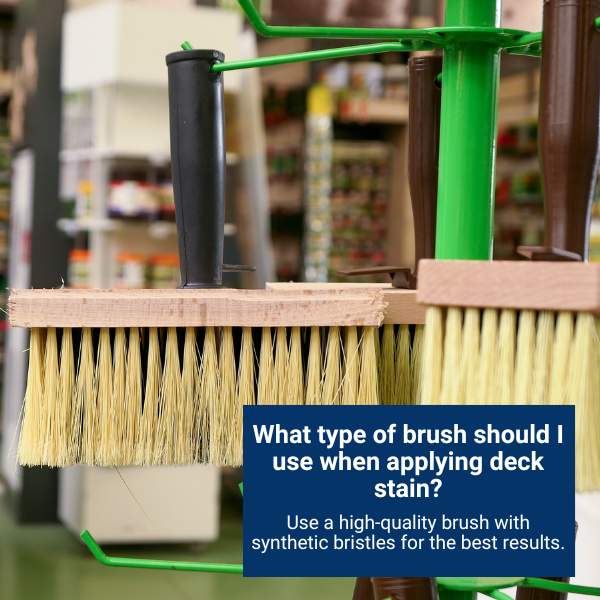
- A high-quality brush is essential for applying the stain – look for one with solid construction and bristles made of natural fibers like hog hair or china bristles.
- A roller or sprayer can be used as well, but it will require a bit more practice to get the desired results.
- Finally, make sure to have a good pair of safety glasses and gloves on hand for protection during the staining process.
Note: Make sure the weather forecast is favorable for at least 24 hours. Don’t attempt to restain if rain or high humidity are in the forecast.
2. Get Your Deck Ready For Staining
Before you start the process of restaining your deck, make sure that you have done the following:
- Get a head start by removing anything that can be affected by chemicals or splatters from the surface. This includes furniture, grills, playthings, carpets, pots, and any other obstacle that may hinder the correct application.
- Use a broom or a leaf blower to remove any loose material before using a stiff brush to scrub away the remaining dirt and grime.
- To ensure that the ground surrounding your plants is safe from any contamination, be sure to thoroughly soak it.
- After doing so, you can use plastic to cover and protect the area from run-off or splashing of liquid during staining. Don’t forget to uncover each plant after you’ve finished.
- If necessary for materials such as glass or metal, make sure they are protected with a layer of plastic beforehand too.
- Lastly, if you have any items underneath the deck that could be damaged by staining, cover them up or take them away.
3. Give It A Thorough Power Washing (Optional)
Pressure washing is great for cleaning a deck. It can remove old paint, dirt, and even mildew, making your deck look new. Choose a wide-angle spray nozzle and keep it about 6 inches from the deck to prevent any damage.
Start at one end and move to the other, making sure you cover all areas. This way, you will remove all the dirt and grime.
However, be careful if your deck is old or if the wood is soft or rotting. The strong water pressure could damage it further. In this case, consider other gentle cleaning methods. We did this with an old deck, aiming to keep it functional a bit longer before replacement.
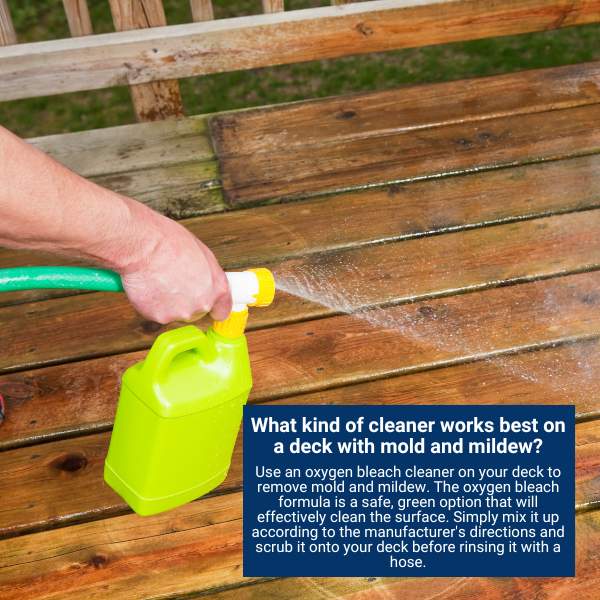
4. Clean With A Brightener Solution To Restore The Original Look
To begin, give the deck a thorough scrub with mild detergent. This will remove any dirt, grease, or grime that has built up over time.
If you plan on restaining with a lighter color than your current shade, use a brightening solution to help prepare the wood for a lighter hue. It will help to restore the wood’s natural color and pH balance.
For decks with mold and mildew, use a mildewcide cleaner. If your deck has become weathered and grayed, then you may want to use a restorative cleaner or brightener. Be sure to follow all directions for application and clean-up, as they can be very caustic if used improperly.
5. Allow Plenty Of Time To Let It Dry Entirely
Once your deck has been washed and cleared, allow at least 48 to 72 hours for it to dry out completely.
If you try to restain your deck before it is dry, the stain will not adhere properly and may result in an uneven or blotchy finish.
6. Patch Up Any Necessary Repairs
Next, make sure to identify and fix any problems with your deck. Look for signs of rot or water damage, loose nails or screws, splintering wood, or other issues that could affect the outcome.
Check for warping due to sun exposure on the planks of your deck. If you find severe warping or if your wood is rotting in some places, consider replacing these parts as they will require more sanding than restaining can fix and may not be able to hold the stain properly afterward.
So, take the time to repair any areas that need attention!
7. Smooth Out Imperfections On The Deck (If Needed)
Sand any rough spots or areas where splinters have formed. Use 80-grit sandpaper for best results and rub in a circular pattern for even coverage.
If you’re not sure what sections require sanding, use a bright light to illuminate all surfaces of your deck and look for any discrepancies; this will help you easily spot all problem areas that need attention.
8. Thoroughly Wash Away Excess Dirt
Once you’ve finished sanding the entire surface, vacuum away any excess dirt and debris. Then use a stiff brush to scrub down the entire area for a clean finish.
Also, rinse off your deck with a garden hose or pressure washer on a low setting so that it’s free from all residue.
Finally, make sure the deck is completely dry before applying the new stain. This could take several days in humid climates.
Now you are ready to:
9. Apply The Stain Of Your Preference And Blend Into The Wood Grain
Once the deck is dry (wait at least one day after power washing), apply a coat of quality deck stain using a roller or paintbrush.
Start at one corner of the deck, slowly rolling or brushing in overlapping strokes. If using a roller, avoid applying too much pressure that can create lines. Keep the same direction when brushing, and try to blend with the existing grain pattern as you go.
To prevent lap marks, work quickly around the deck in two-to-three-foot sections without stopping before beginning a new section. For those hard-to-reach areas, use a brush extension pole that attaches directly to your brush handle for easy access.
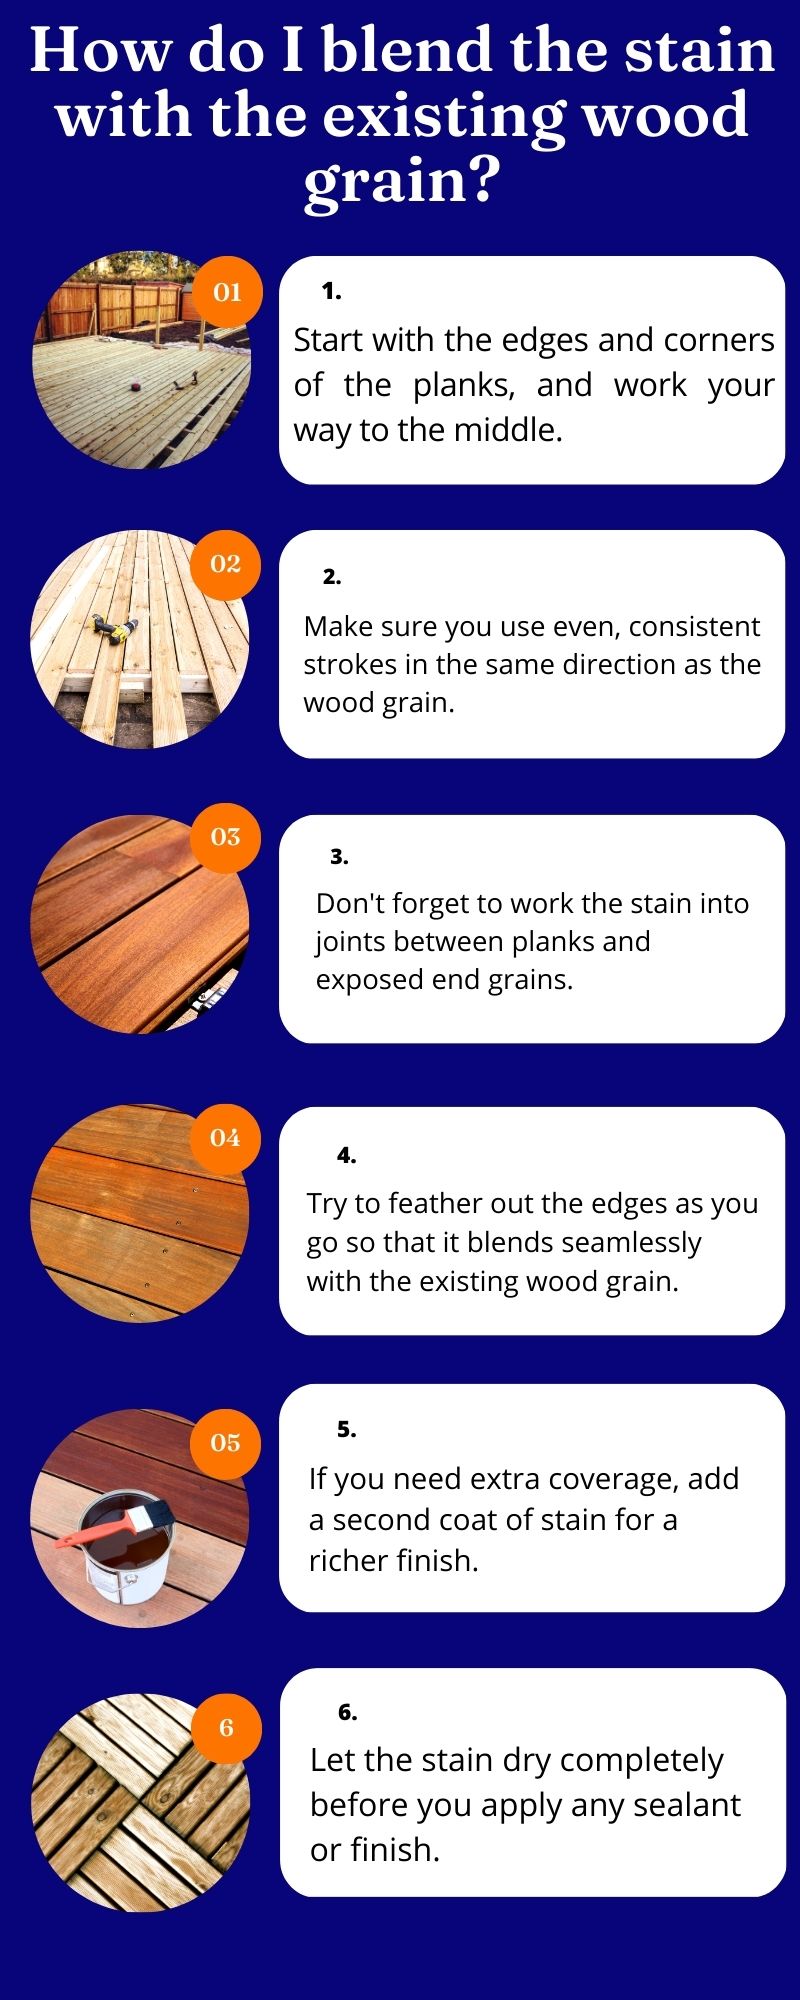
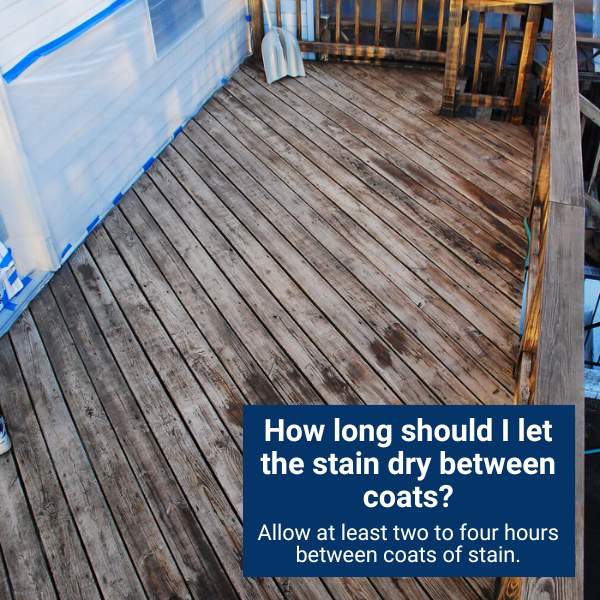
You can use a second light coat after the first one is dry if needed. With two coats, you will achieve maximum color pigmentation and water repellency for your deck.
Let each coat of stain dry according to manufacturer instructions before applying any additional coats. This is especially important if you’re switching between different types of stains (e.g., water-based and oil-based).
When you’ve finished the main deck surface, use the same technique to stain stairs, railings, and other areas.
10. Add Some Final Touches For An Extra Polished Look
When the stain is fully applied to your deck, allow it to dry according to the manufacturer’s specifications. This period of time may vary based on factors such as temperature and humidity, plus the type of stain used.
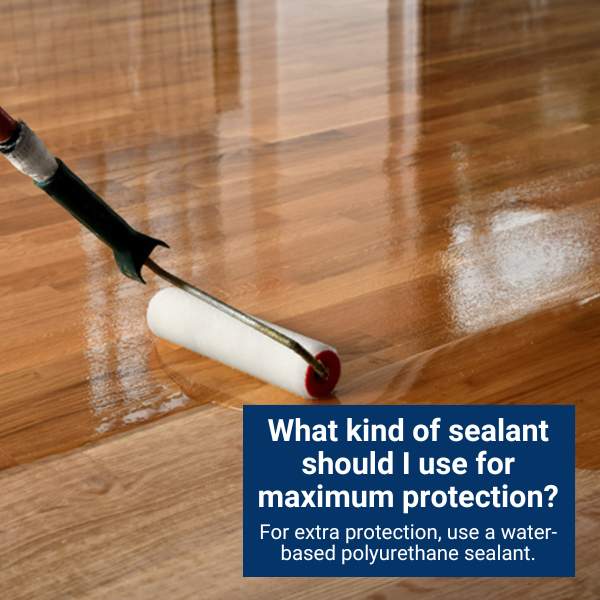
After drying is complete, consider applying a sealant for extra protection against weather extremes and UV radiation. Taking this step will ensure that your new stain job lasts for a long time, giving you the beautiful and functional deck of your dreams.
Tips For Restaining A Deck Without Stripping
- Change brushes frequently: To ensure quality staining; choose natural bristle brushes for oil-based products and synthetic brushes for water-based stains.
- Choose a Similar Stain Color: If you want to restain your deck without stripping off the old stain, try to choose a similar color so that it blends in better with the existing coat.
- Test on a Small Area First: Before applying a new stain over the entire deck, test a small area first to make sure you like the way it looks and that it’s compatible with the original coat of stain. This will allow you to make any necessary adjustments prior to staining the whole surface.
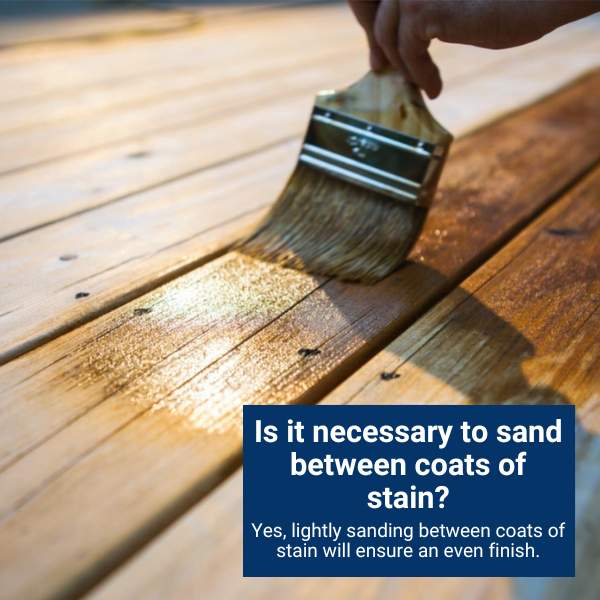
- Sand Lightly Between Coats: If you’re applying multiple coats of stain, make sure to lightly sand between each coat. This will help to remove any rough edges that may have appeared during the staining process, resulting in a smooth finish.
- Applying Sealant: Wait three days after staining before using any sealant or varnish on the surface.
Clean Up Thoroughly Afterward: Clean your brushes, tools, and any other materials used to stain the deck before letting it dry completely for one final time.
Final Thought!
Achieving a stunning deck finish is no small feat, but with focus and practice, you can obtain a result that will last for years. With the correct tools and techniques laid out in this article, you’ll be able to confidently tackle your own DIY project — leaving plenty of time to host friends and family in your gorgeous new outdoor space!