
Homeowners know the frustration of dealing with weeds in decking areas–they can quickly overtake a once-beautiful outdoor area, creating an unappealing eyesore. Fortunately, you can keep your deck looking fantastic by laying a weed membrane under it. But how do you go about doing this correctly?
To lay a weed membrane under a deck, clear the area of debris, and measure and cut the membrane a few cm bigger than cleared space. Next, lay out the membrane over the area and secure it at the edges using pegs. Lastly, cover the membrane with a layer of mulch, pea gravel, or other material to hold it in place.
In this blog post, I will explain how to lay down weed membrane under decking, discussing the benefits it offers and the best practices to ensure you get the job done right. Keep reading to learn why this simple process can make a big difference in your outdoor space’s look and maintenance needs.
Laying Membrane Under Decking [5- Easy Steps ]
Installing the weed membrane can be intimidating, but don’t worry – I’m here to walk you through the process in just 5 simple steps! Let’s get started.
Step-1 Selection Of Right Membrane
Once you decide where to install the decking, the first step is buying a suitable weed membrane. Selecting the right membrane is vital to get weed-free results:
Weed control fabric, otherwise known as “weed membrane,” is a solid material that weighs between 50gsm to 75 gsm. This reliable product will be your best defense against pesky weeds from infiltrating your decking area. Unlike traditional fabrics, weed control fabric is designed to be durable and weather-resistant, making it an ideal choice for outdoor use. This fabric is typically made from polypropylene or woven plastic, both of which offer excellent protection against weeds and moisture.
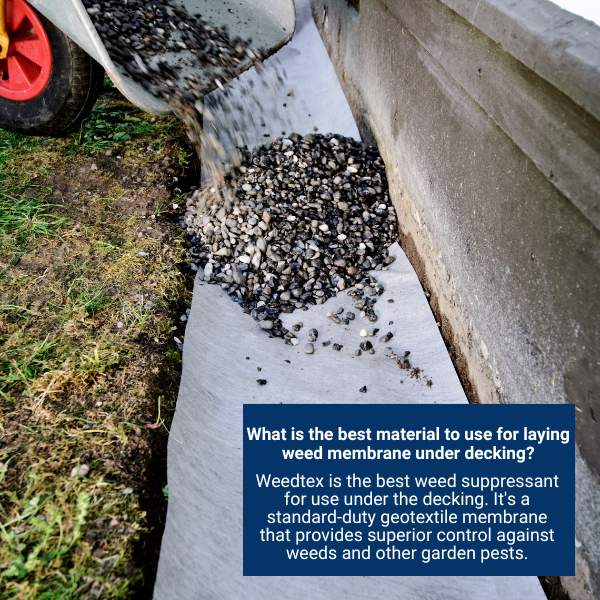
Different types of materials, such as Weedtex, Landtex, and Groundtex, can be used as weed membranes under the decking. These materials are breathable and allow air to pass through them.
Finally, consider the area where the decking will be installed, as a concrete floor does not require a membrane, while an area with grass or vegetation may need one.
Step-2 Gather The Tools Needed For Installation
Before installation, you should gather your tools. These include
- A pair of garden scissors for cutting the fabric to size
- Hammer and some pegs for securing the fabric in place
- A Wheelbarrow for transporting the fabric from one part of the garden to another
Step-3 Clear The Decking Area
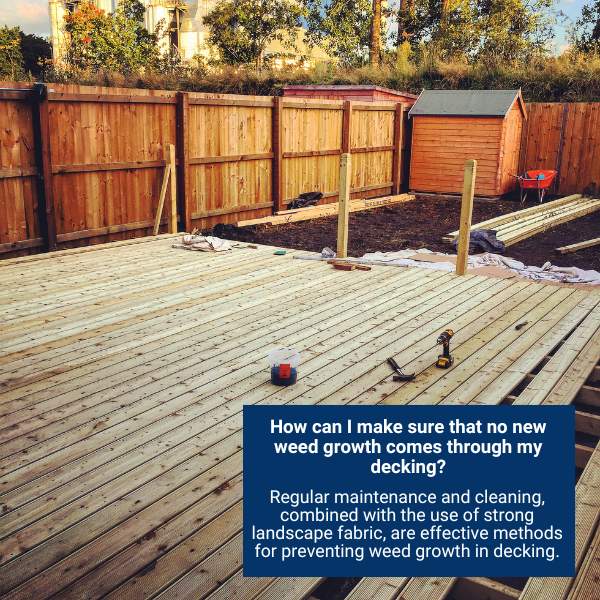
Once you’ve gathered your supplies, the next step is to clear the decking area of any weeds or shrubs. Weeds and their pesky little seeds can be a real nuisance in any garden. To ensure the fabric is effective, you must first clear the soil of any existing weeds and their seeds before laying it down. This will make sure that new weed growth won’t come through the gaps in your decking or other structures.
Start by cutting down as many weeds and shrubs as possible with a pair of shears or a weed whacker. For stubborn perennial weeds, use an appropriate herbicide or weedicide to ensure they don’t come back. Lastly, clear the area from pointy rocks, as they can pierce the membrane with time and allow the weeds to find their path to growing again.
Step-4 Put Down The Membrane
Now that your decking area is clear, it’s time to put down the weed membrane. Before you begin, ensure your deck’s subframe is constructed properly. This is important to ensure that the membrane will fit correctly and stay securely in place.
Also, measure and cut the fabric so that it overlaps by at least 10-30 cm on all sides. Then, carefully lay the fabric flat over the cleared area and secure it with pegs every 1-2 meters. For instance, you’ll need to choose the right pegs for your weed fabric. This can be a tricky decision as there are various types of pegs available.
ARVO Garden Pegs and Corona Membrane Pegs are two great options that offer excellent stability while digging into the ground efficiently. For those on a budget, Garden Prime Steel Pegs provide 100 pegs for a great price. Whichever option you choose, make sure that the pegs pierce through the fabric material easily and firmly to help secure it in place.
Specification | WEED Membrane | WEED Membrane ULTRA |
Average mean or pore size | 43μ | 33μ |
Light transmittance | <8.0% | <4.0% |
Carbon black content | 3.0% | 3.0% |
Membrane weight | 50gsm | 70gsm |
Guaranteed life – when covered | 15 years | 25 years |
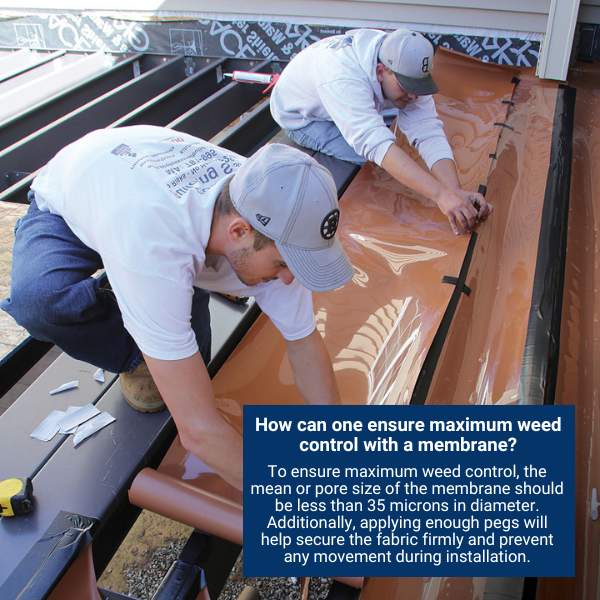
Note: To ensure maximum weed control:
- The membrane must feature a tiny hole size that is less than 35 microns in diameter.
- Use enough pegs that the fabric won’t move during installation.
- Secure your sheets firmly to the posts, making sure not to create any extra cuts or holes as they provide a path for weeds to grow.
Step-5 Provide Extra Protection To Membrane
The final step is to cover the weed membrane with gravel, mulch, or rock up to 5 cm within 24 hours of laying. This will prevent weeds from coming into contact with the fabric and ensure that your decking area is safe to use.
The crushed gravel is also excellent for weighting the weed membrane in place and suppressing vegetation growth. With this simple step, you’ll be able to enjoy a beautiful, weed-free decking area that’s safe and excellent in outlook.
When To Lay Membrane Under Deck?
The best time to lay the membrane under a deck is before installation. This way, you can protect your deck from any weed damage and reduces the chances of insect infestations in the long run, and keep it looking beautiful all year round.
However, if you have installed your decking and now need to lay a membrane under it, this requires extra care and attention. To successfully finish this job, start by lifting the boards. Subsequently, you will have to apply different natural or chemical methods to control weeds that might pop up in the spaces between the decking.
Also Read: When To Stain A New Cedar Deck? Best Ideal Time Revealed!
For instance; spray a suitable glyphosate product over all existing grass for removal. Finally, lay out the sheet, and you’re done! Remember, this can be tedious and expensive, not to mention unsightly.
How Long Does The Weed Fabric Under Decking Last?
The lifespan of weed fabric depends on a variety of factors, such as the type and quality of material used, environmental conditions, and frequency and intensity of use. Generally speaking, weed fabric can last anywhere from 10-25 years. However, proper maintenance is key to extending its lifespan. Regularly cleaning and inspecting it for visible signs of wear and tear can help keep it in peak condition for much longer.
Final Thought!
Now that you know how to lay weed membrane under decking properly, you can feel confident in taking control of your garden and keeping it free of pesky weeds. With just a few simple steps, you can ensure that your decking area is safe, aesthetically pleasing, and weed-free for years to come. So go ahead and take the plunge – you won’t regret it!