
You may have encountered deck restaining guides that tell you to clean your deck before restaining. However, figuring out the best way to do so can be challenging. Many DIYers are unsure about the proper cleaning techniques, and they want to know an easy and effective step-by-step guide to do so. Here’s a quick glimpse:
First, clear your deck of all furniture and sweep away any debris. Mix your cleaner with warm water and spray it all over the deck. Next, scrub the deck towards the wood grain to remove stubborn stains. Finally, rinse the deck with a garden hose or pressure washer, and let it air dry completely.
Though cleaning is a straightforward process, it needs careful application. Besides, there are several cleaning solutions available. Don’t worry; this guide will teach you everything about cleaning your deck before staining. So, let’s dive in!
7 Steps To Clean Stained Deck
Cleaning a stained deck before restaining is important in ensuring the new stain will adhere properly and last longer. Here are the steps you can follow in cleaning a stained deck:
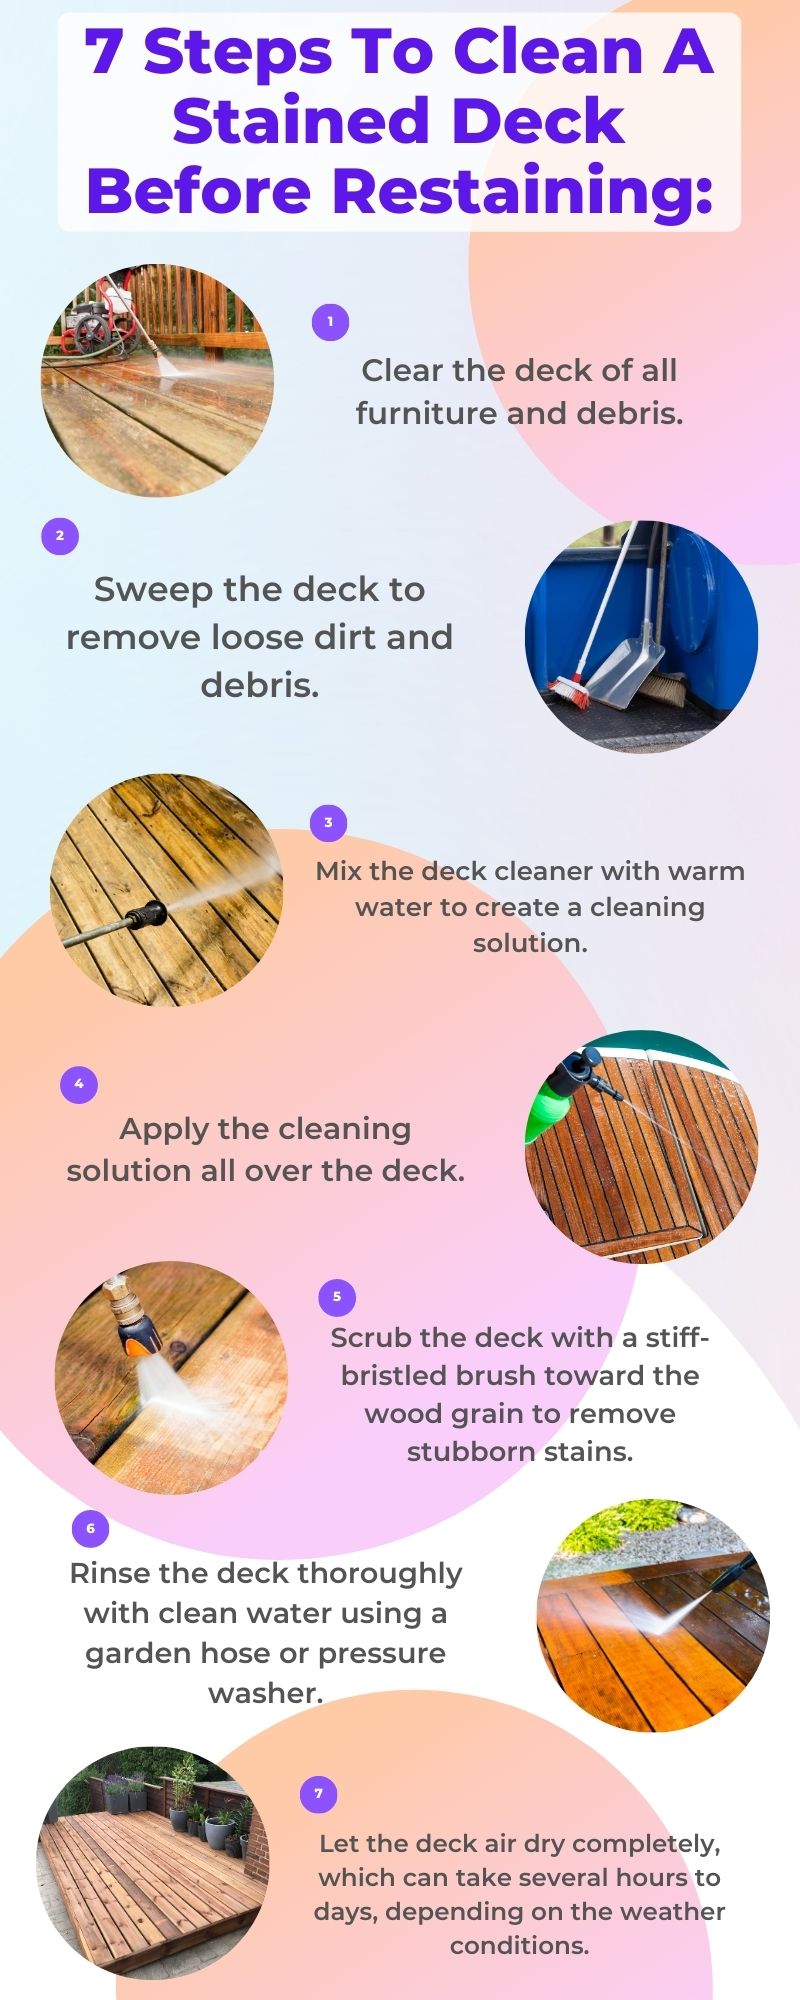
1. Clear The Deck:
The first and basic step is to remove all furniture, planters, and other items from the deck. It will make it easier to clean the deck thoroughly without working around obstacles. It will also ensure that the cleaning solution and water can reach all parts of the deck.
2. Sweep The Deck:
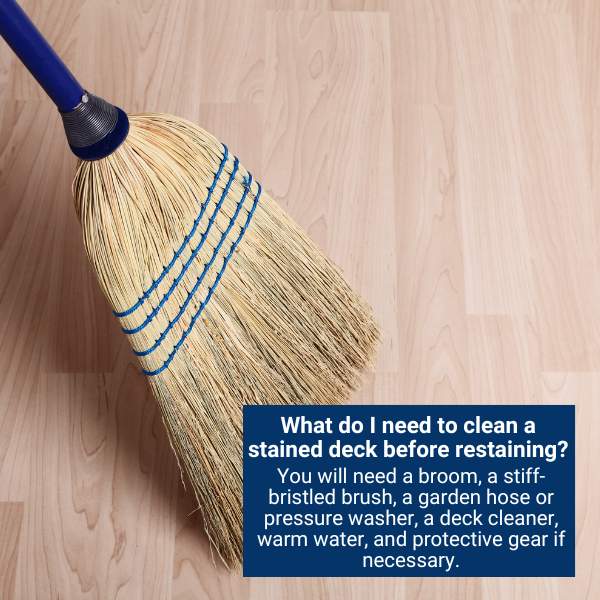
After clearing the deck, Grab your trusty broom and sweep away all the dirt, leaves, and debris accumulated on your deck. Sweep in all directions to ensure you get everything. Remember to give those hard-to-reach spots a good sweep too! Use a broom or brush to remove loose dirt, leaves, and debris from the deck’s surface.
3. Prepare The Cleaning Solution:
Time to mix up the perfect cleaning solution to make your deck sparkle like new! Follow the instructions on your deck cleaner, and mix it with warm water to create the magic potion that will eliminate all the stains and dirt on your deck.
4. Apply The Solution:
Time to get down and dirty! Once you’ve cleared your deck of loose debris and surface dirt, it’s time to tackle the heavy-duty cleaning. And to do that, you’ll need the right cleaner.
An all-in-one deck cleaner should do the trick for decks that need a little TLC. But you’ll need something stronger if dealing with serious stains and mildew.
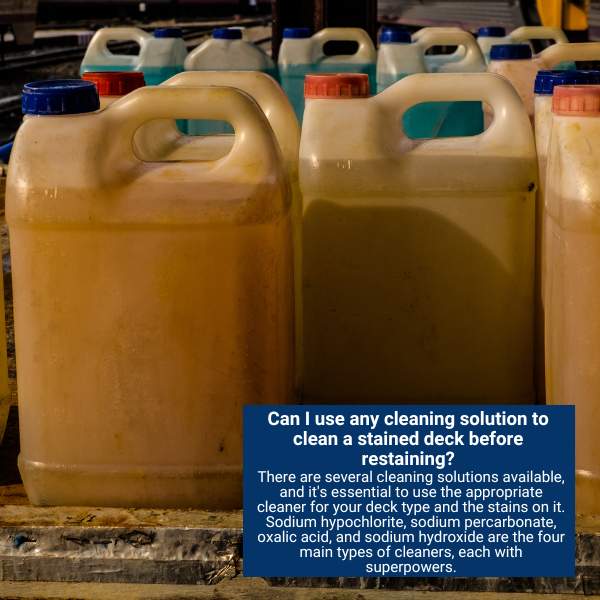
There are four main types of cleaners, each with superpowers:
● Sodium Hypochlorite:
First, we’ve got sodium hypochlorite – the bleaching agent not to be messed with. This white powder is a lifesaver when tackling mildew, but be careful – it won’t do much for other stains. Mix it with an ammonia-free detergent and rinse your deck thoroughly afterward to avoid damage.
● Sodium Percarbonate:
If you want a safer option, try sodium percarbonate. It’s a popular choice because it works wonders on dirt and mildew. Simply mix it with water and let it work its magic.
● Oxalic Acid:
Next on the list is oxalic acid – the brightening superhero perfect for cedar or redwood decks. It’s great for removing iron and tannin stains, but wear protective gear as it can be toxic.
● Sodium Hydroxide:
Sodium hydroxide is the powerhouse cleaner that strips paint and sealer. It’s so strong that it turns most wood decks black, but don’t worry – you can restore the natural hue of your deck with some citric or oxalic acid.
Grab your garden hose or pump sprayer, and spray the cleaning solution all over your deck! Ensure you cover every inch of your deck, including any stairs or railings.
5. Scrub The Deck:
The next step is to scrub the deck towards the wood grain gently. Get your stiff-bristled brush and add some elbow grease! Make sure you pay extra attention to areas with stubborn stains and discolorations. Put on your favorite tunes and make it a deck-scrubbing party!
6. Rinse The Deck:
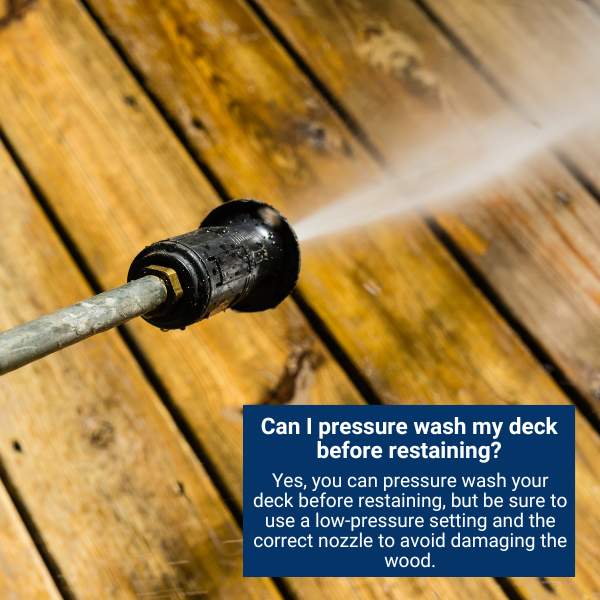
It’s time to wash away all your troubles. Rinse the deck thoroughly with clean water. Use your garden hose or pressure washer to remove all the residue and grime.
7. Let The Deck Dry:
Patience is a virtue, especially when letting your deck dry. Allow your deck to air dry completely before moving on to the next step. However, the drying process can take several hours to days, depending on the weather conditions. Utilize this time to relax and enjoy a cold drink on your newly cleaned deck.
Why Is Cleaning Necessary Before Restaining A Deck?
Cleaning your deck before restaining is crucial in the deck maintenance process. Over time, decks can accumulate dirt, grime, and other debris, leading to discoloration, staining, and even structural damage. If these contaminants are not removed before restaining, the new stain will not adhere properly and could peel or flake off, leaving your deck worse.
Cleaning your deck also helps to remove any mold, mildew, or algae that may have grown on the surface. These growths not only look unsightly. However, it can also be hazardous to your health, making your deck slippery and dangerous.
In addition to removing dirt and growth, cleaning your deck allows you to assess the condition of the wood and identify any areas that may need repairs before restaining. For example, if you find areas of rot or decay, it’s important to replace the affected boards before applying the new stain.
So, take the time to clean your deck thoroughly before restaining and enjoy a perfectly restrained deck later.
Final Verdict!
Don’t let a dull, stained deck bring you down. With my comprehensive guide, you can restore your deck to its former glory and get it ready for a fresh coat of stain.
Remember, a clean deck is essential for a long-lasting and beautiful finish. In addition to removing dirt and grime, these steps successfully prepare the surface for the restaining process.
So, put on your favorite tunes, grab your cleaning supplies, and prepare to make your deck sparkle again. With some elbow grease and patience, your deck will look so good you’ll be tempted to host a party just to show it off!