Pressure-treated wood is one of the most frequently used construction materials, both within and outside the house. Rather than leaving the pressure-treated wood exposed, many individuals prefer to stain the pressure-treated wood to seem like cedar rather than leaving it exposed. But can you really stain pressure-treated wood to look like cedar?
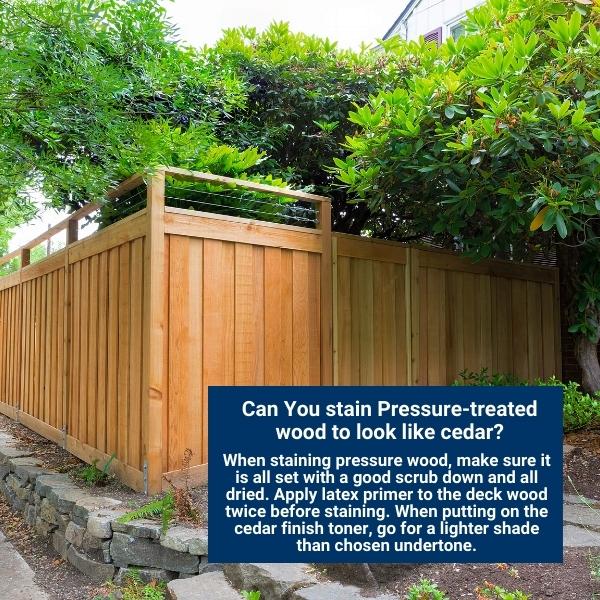
It is possible to stain pressure-treated wood to resemble cedar. Before staining pressure-treated wood, make sure you prime it twice. Ensure the synthetic cedar finish you select is a shade or two lighters than the selected undertone. To do this, you’ll need to find a stain with a consistently cedar-coloured tone.
In this article, I will demonstrate some of the finest cedar-toned stains you can use and how to stain pressure-treated wood to appear like cedar.
Can You Stain Pressure-Treated Wood To Look Like Cedar
Even pressure-treated wood will eventually start to age and turn grey, especially when it is in direct sunlight. The application of stain aids in preserving the wood and keeps it from cracking and breaking.
The preservatives in pressure-treated wood serve to shield it from decay and insect damage. It is still susceptible to harm from debris, dampness, wind, and sunshine, though. The wood can be stained to look like cedar if you want to enhance the appearance of a new deck or porch.

Using paint or wood stain with a cedar tone, you can make any wood look like cedar. The most common colours might be pinkish-red or have faint purple undertones.
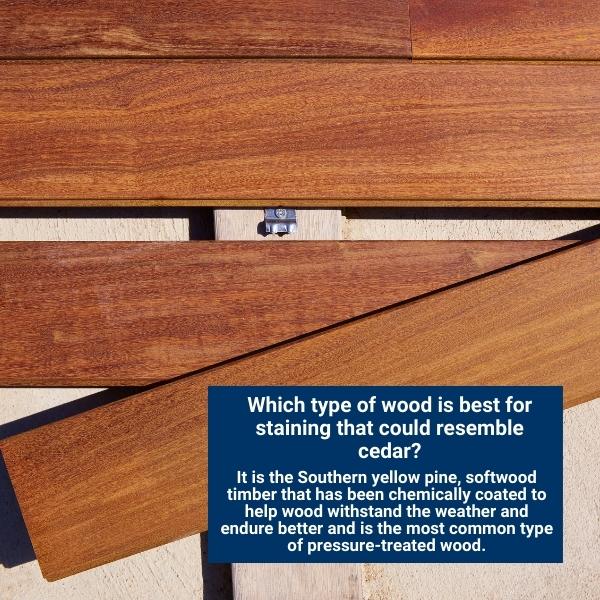
So, which wood is best for staining that could resemble cedar? It is the Southern yellow pine, softwood timber that has been chemically coated to help wood withstand the weather and endure better and is the most common type of pressure-treated wood. The additives used to treat wood also help it repel insects and stop rotting.
If you want the long-lasting advantages of pressure-treated wood and tight integration with cedar utilized in your building project, staining this wood will be the best decision to make it look like cedar. Read on to discover how to do this project from start to finish:
Also Read: Can You Put A Gas Fire Pit On A Deck? Best Method Revealed!
Materials Required For Staining Wood To Make It Look Like Cedar:
- Water-based or oil-based stain.
- Moisture meter.
- Blotting paper or brush for stains.
- Can opener for paint.
- Cleaning the lumber with a scrub brush.
- Mild detergent.
- Gloves.
- Stir stick.
How To Create A Cedar-Like Look On Pressure-Treated Wood:
Here are seven steps for staining the pressure-treated wood that creates a cedar finish and lasts longer:
- Pick The Right Cedar-Tone Wood Stain: Choose a wood stain with a strong cedar color that is made for outdoor use. Wonderful oil- or water-based cedar-tone stains are available. Whichever option you choose, keep in mind whether the surface is horizontal or vertical.
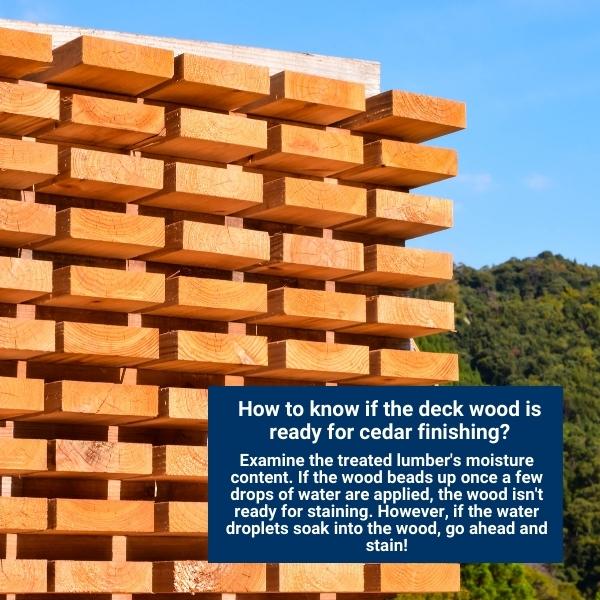
- Examine The Treated Lumber’s Moisture Content: Always examine the pressure-treated lumber’s moisture content before staining it. Check the wood’s moisture content with a moisture meter to make sure it isn’t higher than 17%. Allow the wood to cure for a couple of weeks if it is more.
If the wood beads up once a few drops of water are applied, the wood isn’t ready for staining. However, if the water droplets soak into the wood, go ahead and stain! Today’s pressure-treated wood doesn’t need to be left out for a specific amount of time to allow chemicals to seep out; examine it anyhow to determine how dry it is.

3. Select The Ideal Weather Prediction: When planning to stain treated wood, look at the weather prediction for the following three to four days. Watch out for warm, dry weather with little humidity so that your stain job can cure and dry quickly.
4. Prepare The Pressure-Treated Wood So It May Be Stained: To make the pressure-treated wood easier for the stain to stick, you must clean and dry it. If your pressure-treated wood has just been delivered, dust it off with a damp cloth.
However, if somehow the treated wood is outdated and has accumulated dirt, carefully clean it with mild soaps and a scrub brush. After washing the wood with water, dry it off with a rag. Allow the wood to dry thoroughly after that. The amount of time it takes for pressure-treated wood to settle varies on the cleaning process, the environment, and the weather.

5. Prepare The Cedar-Colored Stain: It is simple to prepare the wood stain in a cedar hue. Start by using a paint jar opener or a screwdriver to gently remove the stain-can. The color that might have accumulated at the bottom should now be mixed up by giving the contents a good swirl with a stirring spatula. Avoid shaking the stain container to prevent bubbles from forming; a bubbly stain doesn’t apply evenly.
6. On The Treated Wood, Check the Stain: Under the treated wood, lay a drop sheet to capture droplets and splatters while shielding neighboring plants. No matter if you are staining a pressure-treated fence, deck, or any other wooden application, always test-brush the stain on a discrete area first. Let the applied stain finish drying after that.
Also Read: Can You Build A Deck Over A Septic Tank? Step By Step Guide
Using this test, you can determine whether the stain is a perfect match or a letdown. You can also get an estimation of the drying time for the wood stain. Once you’re happy with the test findings, start staining.

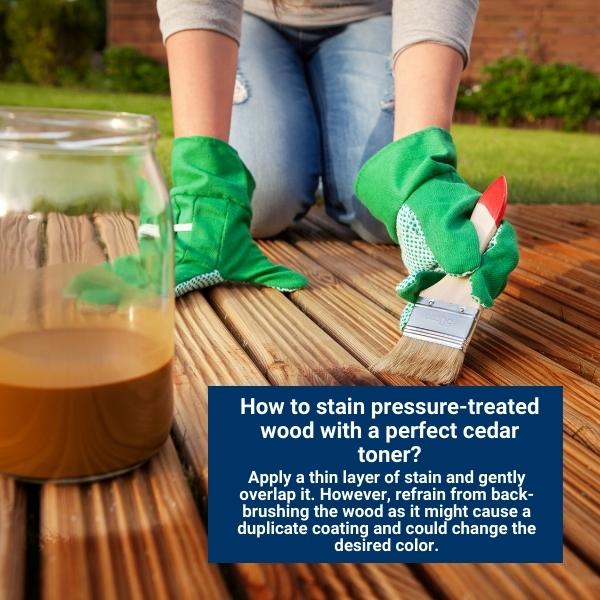
7. Treat The Wood With At Least One Coat of Stain: Use a stain sponge or stain brush to apply the stain. To ensure that the surface is smooth and creamy, apply a thin layer and gently overlap it. However, refrain from back-brushing the wood as you run the risk of duplicate coating and changing the desired color.
Also Read: Deck VS Curb Mounted Skylight: Differences, Costs, Pros And Cons
If you’re staining a treated fence or any other vertical surface, start at the top and begin working your way downward. By doing this, you may cover up and smooth out any drips or stains. Allow the surface to thoroughly air dry once it has been evenly dyed all over. Once more, one coat of stain will be sufficient.
Conclusion
Would you have imagined that staining pressure-treated wood to resemble cedar would be so simple? Well, if you adhere to the proper steps, it is. Try to check first to ensure the treated wood is dry and spotless.
The finest thing is that only one layer of stain is required. This makes it simple to admire the consistent cedar color scheme you prefer and the pressure-treated wood’s durable structural strength!
FAQs
How Long Must Pressure-Treated Wood Wait Before Being Stained?
The kind of treatment the wood underwent and the ambient temperature will determine how long you must wait before staining the wood. In most situations, it is advised to wait for one to three months before staining the wood.
How Often Should Pressure-Treated Wood Be Stained?
If the wood is within your house, you can refresh the stain as soon as it starts to flake or go dull. This may take five to seven years or longer. The stain may need to be reapplied every one to three years or anytime it starts to fade if it is on an outside surface.

