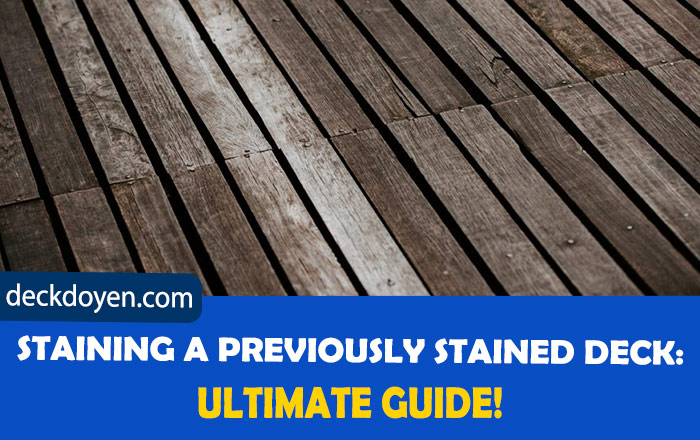
The outside deck is an expensive yet aesthetic investment. It can enhance the beauty of your home if appropriately maintained. However, it is a terrific high area and faces several weather conditions. Consequently, it starts showing signs of withering only after a decade, and the stain is the most effective and affordable way to refresh it. Therefore, many people ask me if restraining a previously stained deck is a good choice.
You can re-stain a previously stained deck. The most effective way is to check for any repairs needed, then sand the surface to remove old stains and apply new ones. Afterward, let it air dry and recoat for a more finished look. Alternatively, you can just clean the area and apply a new stain.
Though the steps sound simple, there is more to them. Before staining your deck again, you must consider the drying time, stain type, and staining technique. So, let’s dive into the step-by-step guide on how to stain a previously stained deck.
How To Re-Stain A Previously Stained Deck?
Staining a previously stained deck is a tricky task. Therefore, after several experiments and attention to detail, I learned to get it right on my wooden deck. It is crucial to decide on the right color and stain type and follow the guide correctly. So, let’s move on to the steps.
Prepare The Deck For Staining:
If your deck is new, it is best to wait approximately 24 weeks before painting, polishing, or sealing it with stain so the wood may assimilate to the wood properly.
Before re-staining your deck, ensure that you have thoroughly prepped your deck. Never stain a dirty deck that is not entirely free of dirt, dust, mold, and moisture. So, the first thing you need to do is to clean it. It is crucial to clean all wooden decks to clean thoroughly and make sure that there is no trace of any mildew, mold, or dirt.
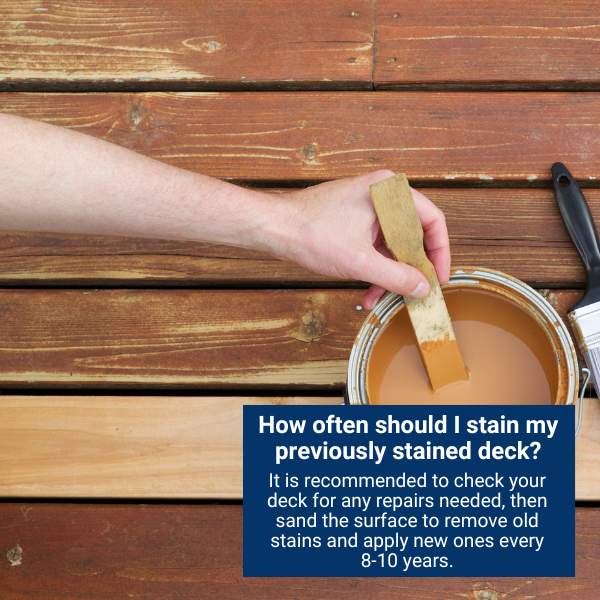
Below is the step-by-step guide to help you clean your deck in the best possible way.
- Begin by removing furniture, rubbish, or items from your Deck. Brush the surface of your deck to remove any surface debris.
- Moisten your boards and use a hose nozzle to clear any initial grime.
- If you are planning to use a pressure washer, try to rinse your planks safely away from the power washer since it might harm your hardwood.
- Clean the spaces between your deck panels to eliminate weeds, dirt, or other filth.
- Make a cleanser using a high-quality decking cleaner or mild detergent, then spray it.
- Now scrub the area of your hardwood panels with a brush or mop until the cleanser begins to dissolve.
- Once you’re satisfied with the condition of the boards, hose them out with your power washer to remove the cleaning solution.
- Wash the decking and allow it to air-dry completely before going to the next step.
Scrape Of The Pealing Stain:
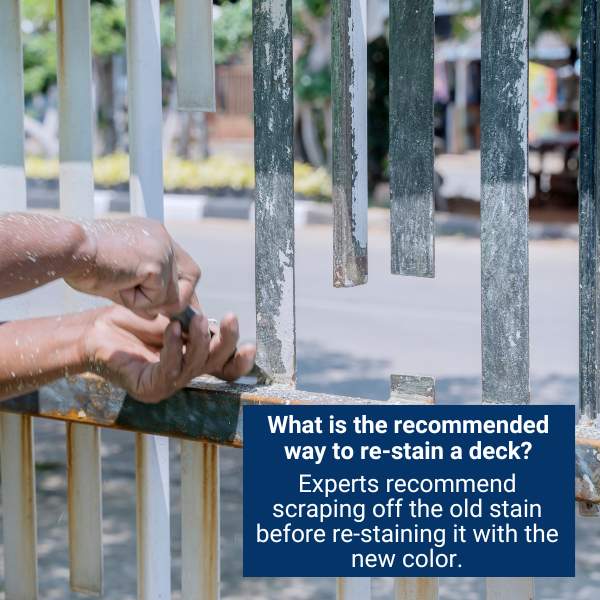
Oil-based stains are thicker than water-based stains. Therefore, they are more prone to peeling off than water-based stains. When you recoat a stain over a pealing stain, it gets uneven and doesn’t provide an esthetically renewed look. Besides, the new color also starts to peel away with the new one. Hence, the purpose of re-staining subsides. Therefore, experts recommend scraping off the old stain before re-staining it with the new color.
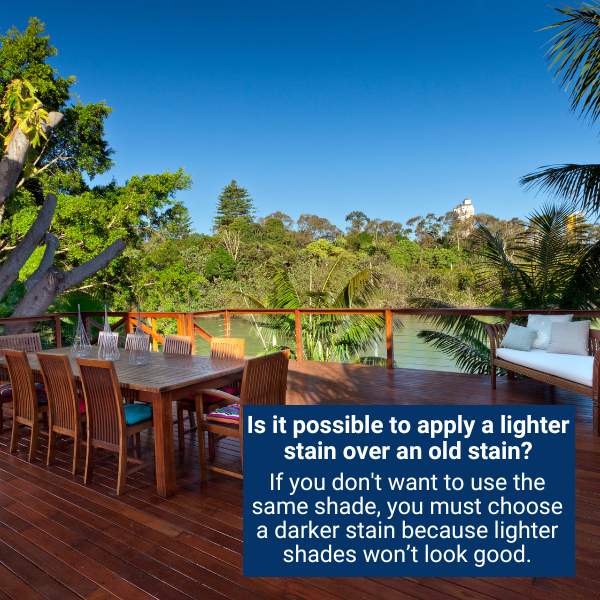
On the contrary, if your previous stain is not pealing, you can give your deck a new stain coat over it. However, if you don’t want to use the same shade, you must choose a darker stain because lighter shades won’t look good. Additionally, if you coat it with a lighter shade or an utterly different color, the older stain layer with change the color a little bit, and it won’t look good.
How To Scrape Or Sand The Deck Wood To Remove Previous Stain:
Here are a few simple steps to help sand your deck and remove the old stain.
- Check that the planks are not wet before sanding, and there is no rain forecast for at least three days three, and the days will be warmer and dry. Once the boards are stained, coated, or painted, you’re only through rubbing.
- You can either use a paint stripper gel that is easy to apply and only requires a little brushing job after it gets dry to strip off the old stain layer.
- If your area is large and flat, get an orbital floor sander on rent.
- A 12″x18″ sanding pad can handle three boards simultaneously.
- The first pass is often made with a belt or floor sander equipped with a 20 to 50-grit strip moving against the grain.
- Use the palm or orbital hand sander for difficult-to-reach areas or your sander fails to reach.
- Remember to sand the bare ends of the planks.
- Sweep or vacuum out the dust, then sand the surface with 60 to 80 grit sandpaper to clean the previous stain while leaving the pores open to absorb the new stain.
- Make sure to wear all protective equipment, including knee pads, dust masks, safety goggles, and ear protection to keep yourself safe from wood dust. It can cause eye irritation and the respiratory system.
- After sanding, wash the deck to eliminate dust and debris from the surface and clean the pores for better absorption of new stains.
- You can use a broom or a blower to clean the dust. Make sure to clean the spaces between the two planks for better results.
- Have a clean cloth at arm’s reach in case you come across any sanding dust while painting.
Apply The Stain:
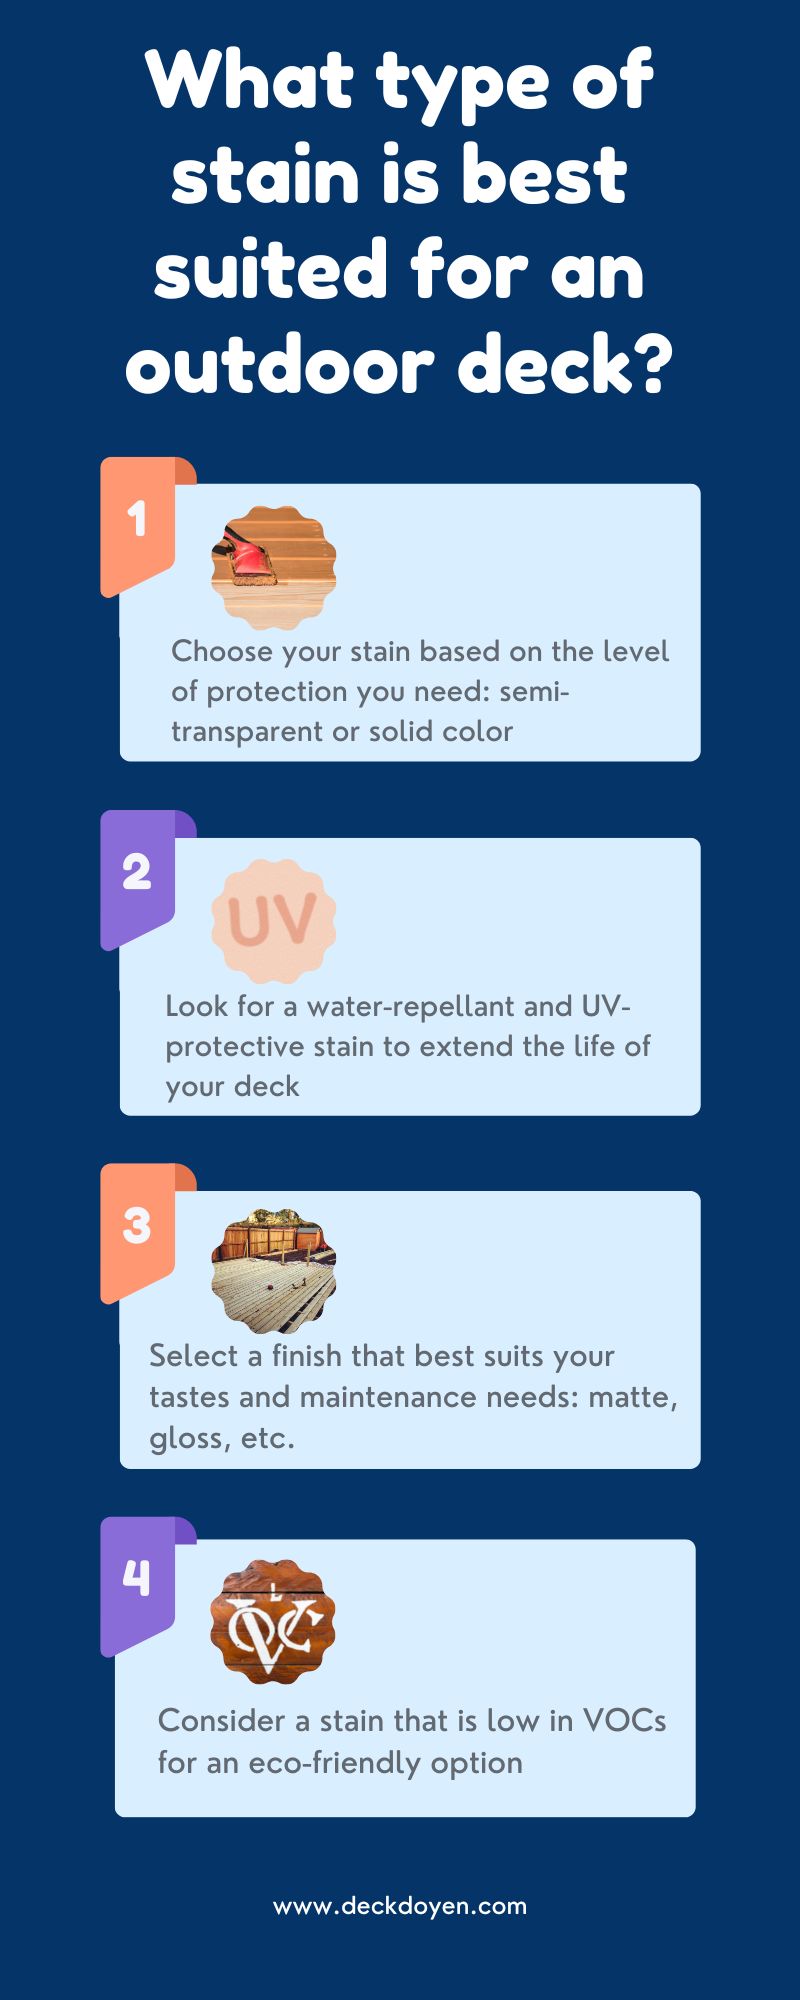
When re-staining your deck wood, it’s necessary to ensure that you have the right wood stain for the job since there are various stains to pick from. They are available in transparent, semi-transparent, semi-solid, and solid colors. The difference between these types of stains is the difference in pigmentation level. The solid colors are thicker and opaque. However, the transparent ones are lighter to reflect wood color, and because they permeate into the pores, they are termed to be penetrating pigments.
These stains are either oil or water-based. Oil-based stains are frequently the ideal choice for staining an outdoor deck since they are more durable and capable of protecting your decking project than water-based stains. However, the application method is similar regardless of the stain you choose when re-staining a deck.
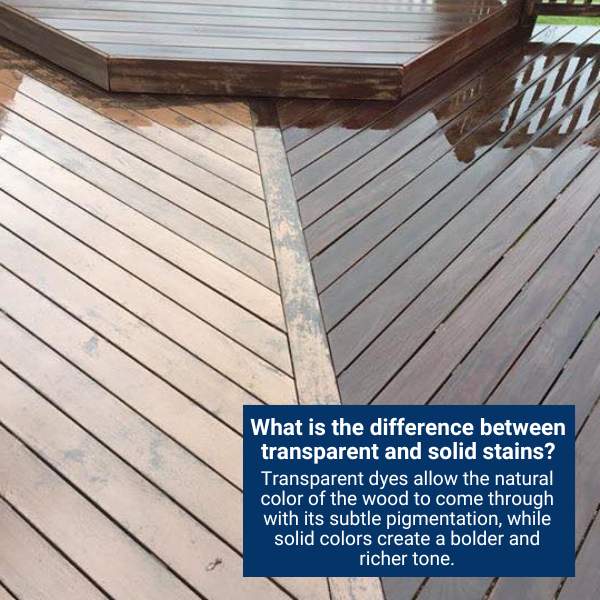
Transparent dyes only need one application, and you need to dry the first coat if you need a second coat in case you need it. You can easily apply a second coat over a wet first layer. Ensure that you never reapply stain after drying. The drying of the first layer completely seals the wood, making it impossible for the second coat to penetrate. This results in an inconsistent sheen and a stain that flakes off and looks horrible.
Solid deck stain is a thin paint that does not permeate the wood. As a film, it rests on top of the wood. Once the wood has dried after cleaning, transparent dyes can be applied. A few more procedures are required for solid stains. To begin, ensure that any loose existing discoloration must be wiped away. Second, all exposed wood should be coated with a primer. After that, you can apply two coats of thick opaque deck stain.
Semi-transparent stain is often the best stain to apply on most decks. It allows you to see the natural wood grains through the stain. You can also use it as a brightener to keep your deck’s natural wood color as it is. Regardless of type, deck stains shield your deck’s surface from UV radiation, mildew, and mold.
Staining Guide:
The best way to start the process is to apply a little bit of your fresh stain on your board to check how it looks. Now follow the instructions below to stain your deck.
- Apply the stain in straight, clean strokes, going with the grain of the wood, using a brush, paint pad, or roller coating with the stain of your choice.
- Begin your first layer by moving backward from the edge or wall the farthest away.
- Work in parts and spread outward, careful not to stain dried-out regions.
- Make sure all of your groves and gaps are filled. When painting again in the spaces in between wood planks, you should use a smaller brush when painting again in the spaces between the wood planks.
- Apply the stain carefully to thoroughly coat the deck and ensure it penetrates the timbers and decking for total protection.
- Now apply a second coat. However, let the initial skin completely dry and read the manufacturer’s directions.
Final Words:
Now, you know how to re-stain wood like a professional. Ensure that your deck is dry and you clean it well. Just follow the steps to obtain the best possible results. Lastly, don’t forget to use personal protective equipment to avoid mishaps.

