
Are you tired of the never-ending cycle of deck maintenance? Do you dread the thought of spending days or even weeks waiting for your deck to dry before applying a new stain? I understand the frustration and inconvenience of traditional deck cleaning and staining methods. But what if I told you the best way to clean and stain your deck in just one day?
First, pick a stain stripper and apply it to remove old stains and dirt. Next, use a wood brightener to restore the wood’s pH balance. Rinse thoroughly and let the deck dry for 2-4 hours until damp. Then, start staining the vertical areas following the floorboards. Let the stain dry for 24 hours, and it’s ready.
Today, you’re about to unlock a game-changing process that will free up your time and allow you to clean and stain your deck in a day. You will get to know the perfect drying time and expert tips to get the job of days done in 24 hours. So, keep reading to discover the revolutionary method to make your deck look brand new.
Detailed Guide To Stain Your Deck In A Day
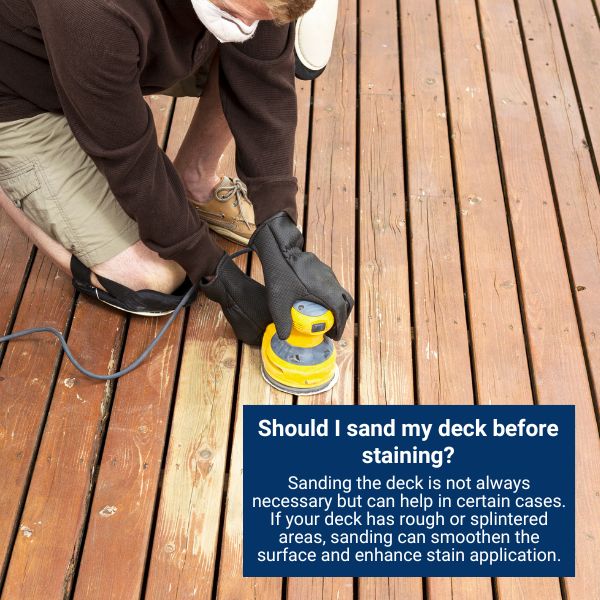
Revamping your entire deck in a day seems impossible, but it’s possible. So, choose the right stain and perfect stripper, and have all your equipment, like a sander or brushes. Because my quick one-day deck clean and stain guide is here for you.
Choose The Right Prep Solution
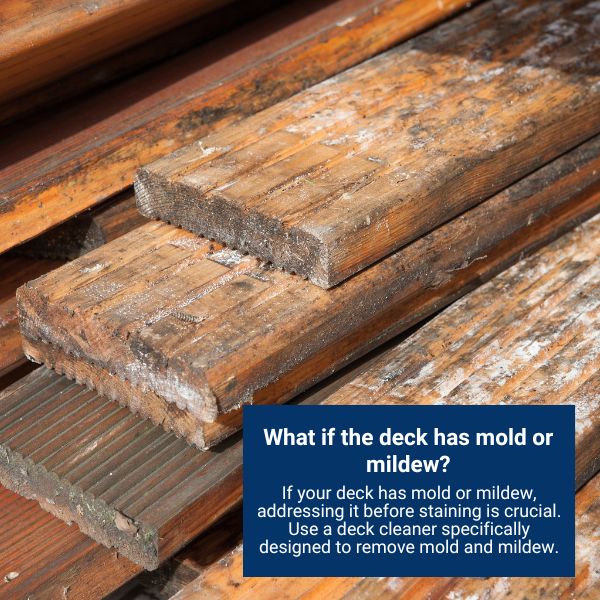
The first step in prepping and staining your deck on the same day is selecting the appropriate deck cleaner or stripper. Two options are available: a deck cleaner or a deck stain stripper. My deck restoration guide suggests using a deck stain stripper since you might be switching stain brands from the previous coating.
Brighten And Neutralize The Wood
After completing the first step with either the cleaner or stripper, it’s time to move on to step two. Now you have to use a wood brightener or neutralizer. It’s a simple yet important step that involves applying the brightener or neutralizer to the wood to restore its original color and pH balance. Hence, it opens the wood’s pores and reveals its natural beauty.
Check For Dry Deck
The key to staining on the same day as the prep is to ensure that all visible water has dried off the deck. The stain can be applied to damp wood but should not be soaked wet. It’s crucial to mist the entire patio with water before you begin stripping. It makes it easier to use the stripper evenly.
Our expert advice would be to use stripper thickening gel and booster additive. Mix the powdered deck stripper with water, add the booster and thickening gel, and apply the solution using a sprayer. The stripper solution will darken the wood temporarily, but that’s normal.
Next, we pressure-wash the deck to remove the old stain, dirt, and grime. We recommend starting with the flooring to prevent slipping when washing the railings. After pressure washing, the wood will still appear dark but don’t worry. It can be lightened up if you want. However, it’s not the main task today.
Thoroughly Rinse For Maximum Results
Now, it’s time to thoroughly rinse the wood with water to remove any remaining dirt and grime. It will eliminate all the hindering dirt and grim that could interfere with stain adhesion to the wood. It’s the most valued step that could affect the appearance of the final staining step.
Choosing The Right Wood Stain
Recent advancements in wood stain technology have made it possible to achieve excellent results with many benefits. It’s best to opt for a high-quality stain that provides better UV protection and excellent penetration into the wood grain. Besides, it must apply to damp or dry wood on the same day as the prep steps.
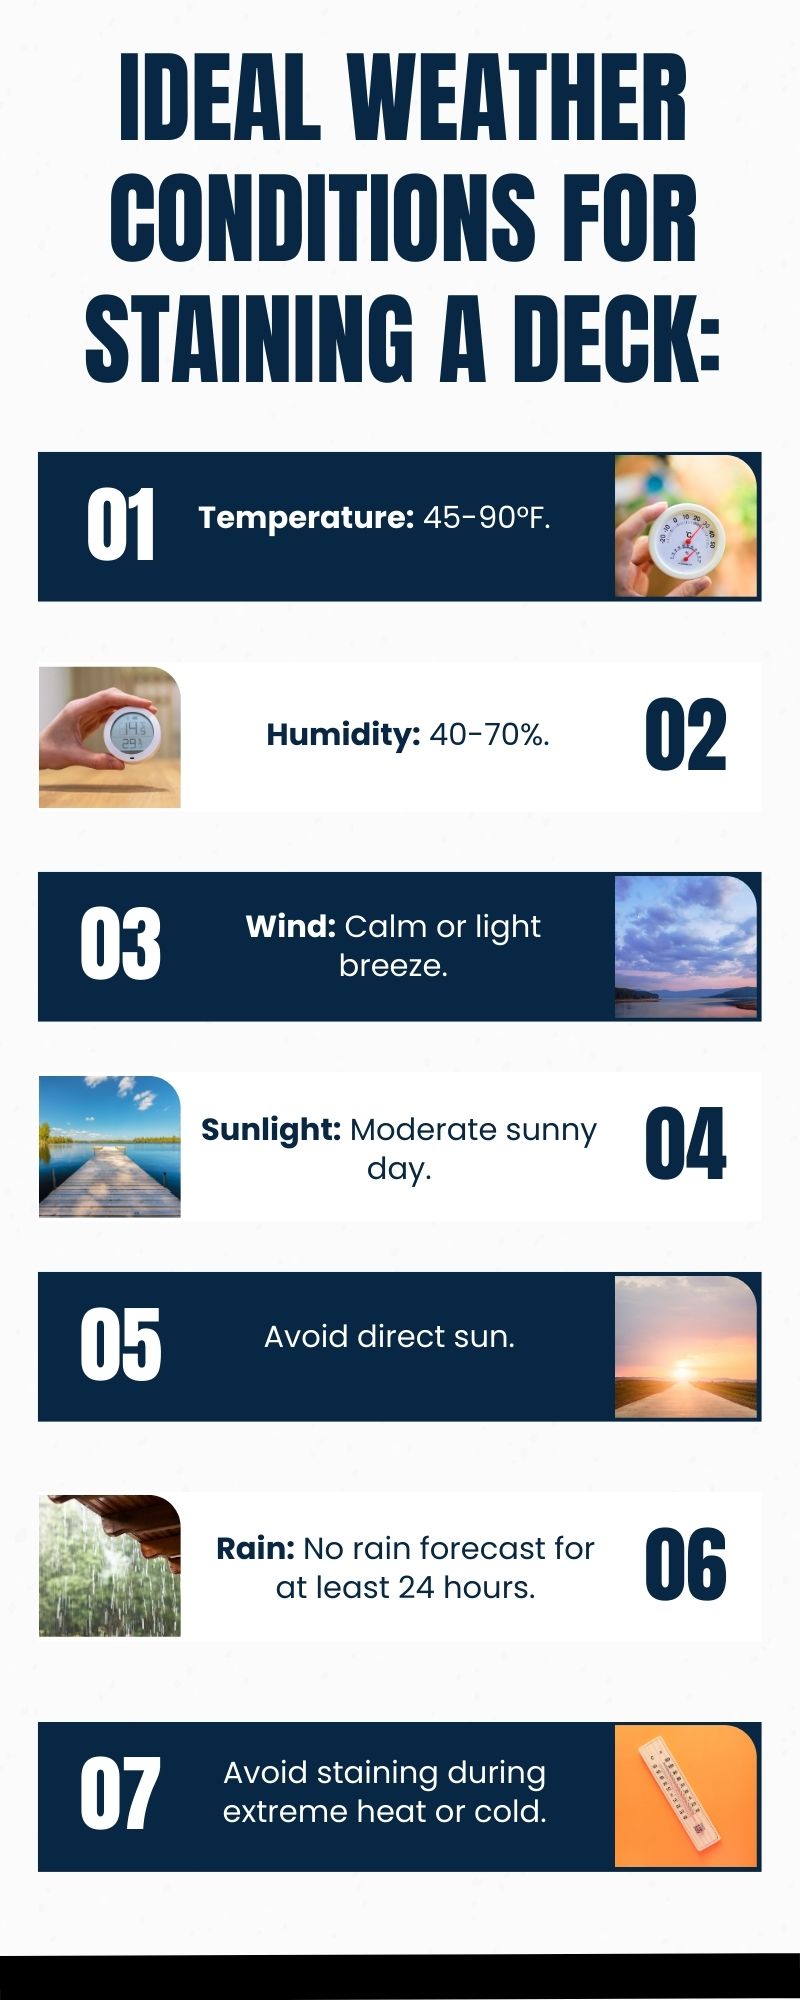
Check The Pre-Stain Weather Conditions
Before starting your staining project, make sure the temperature conditions are optimal. The surface temperature should be between 45 and 90 degrees Fahrenheit. Check the weather forecast, and avoid starting the staining process if the temperature is expected to drop below 45 degrees or if rain is possible within the next 6 to 12 hours.
Staining Process And Tips
Properly staining your deck is the crux of a one-day deck painting project. A bad paint job can destroy the final appearance of your deck. A well-executed staining process ensures protection against the elements while enhancing the natural appeal of the wood. Therefore, I will walk you through the steps and provide valuable tips to help you achieve professional-looking results.
- First, cover non-target surfaces with tarps or drop cloths, such as furniture, plants, and nearby areas. This precaution prevents accidental staining and makes cleanup easier.
- Begin by staining the vertical surfaces of your deck, such as railings and posts. It will allow you to work from top to bottom, avoiding potential drips on the floorboards.
- Ensure the deck wood stain is well-mixed. Shake or stir the paint to evenly distribute the color pigments, ensuring consistent results.
- Continue stirring periodically during the staining process to maintain an even consistency.
- After prepping or misting the deck, let the wood dry for approximately 2-4 hours. The wood should feel damp to the touch but not visibly wet. It is necessary for optimal stain absorption and adhesion.
- Utilize appropriate tools for different areas of your deck. Use an exterior pad or applicator designed for railings and posts while using a stain brush for the floorboards.
- If you accidentally stain unintended areas such as metal spindles, clean them up. Use a graffiti cleaner and a rag to remove the stain before it dries, ensuring a clean and professional finish.
- Now, stain the floorboards. Apply the stain evenly, working methodically to cover the entire deck surface. Avoid breaking in the middle of a board to maintain consistency.
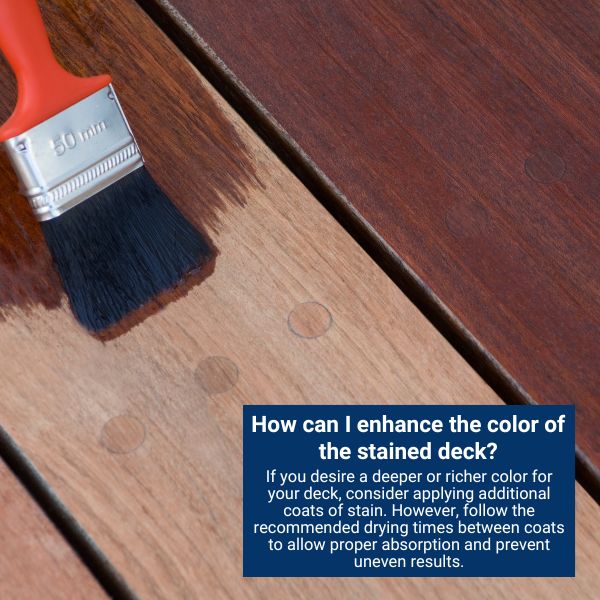
- Consider applying a second light coat of stain depending on the desired color intensity and protection.
- Wait 20 minutes to an hour after the first coat to allow proper drying before applying the second. This can deepen the color and enhance longevity.
Let It Dry
Once the staining is finished, allow the stain to dry for 24 hours before walking on the surface or placing furniture. This ensures a long-lasting and beautiful finish. In about two to three years, or as needed, you can apply a maintenance coat to keep your deck looking its best.
Final Words!
Cleaning and staining your deck in one day is entirely achievable with a little planning and elbow grease. This streamlined process helps to revive your deck, restore its natural beauty, and protect it from harsh weather conditions. It’s a rewarding DIY project that provides immediate, tangible results without requiring significant time.
Just remember to choose the right materials, prep the deck thoroughly, and use proper staining techniques. Following these steps will guarantee a successful one-day deck transformation, letting you enjoy your outdoor space to its fullest. Now, get ready to roll up your sleeves and restore your deck in a day!