Deck staining is a project many people take on, and using a sprayer is the easiest method. However, DIY deck staining doesn’t end well if you do anything out of the books. Therefore, you need to do every step properly. Thinning deck stain in a sprayer is one of the main steps to applying the perfect stain layer on your deck. However, very few people know how to thin deck stain for a sprayer.
To liquefy your deck stain to a thinner consistency suitable for a sprayer, careful application is required. Mix an appropriate amount of solvent, such as water or mineral oil, based on the stain’s solvent. Then, combine the mixture until fully integrated. Avoid adding all the solvents at once; check the consistency and color shade first.
The formula for thinning deck stains is simple. However, when mixing the deck stain with additional solvent, you must be careful. So, let’s read on to all the tips and tricks to mix deck stain in the right proportion and apply deck stain with a sprayer.
Do I Need To Thin The Deck Stain To Use In Sprayer?
Using a sprayer is the most convenient method to stain the deck. However, a stain with thick consistency will not flow smoothly through the spray nozzle. Therefore, we usually must thin the stain using water or mineral thinner to spray the fluid evenly. Still, the use of all sprayers does not require stain thinning. For instance, you don’t have to thin the deck stain while using an airless sprayer. In contrast, If you are using an HVLP, you must thin the stain, or it will clog the nozzle.

How To Thin Deck Stain To Use In HVLP Sprayer:
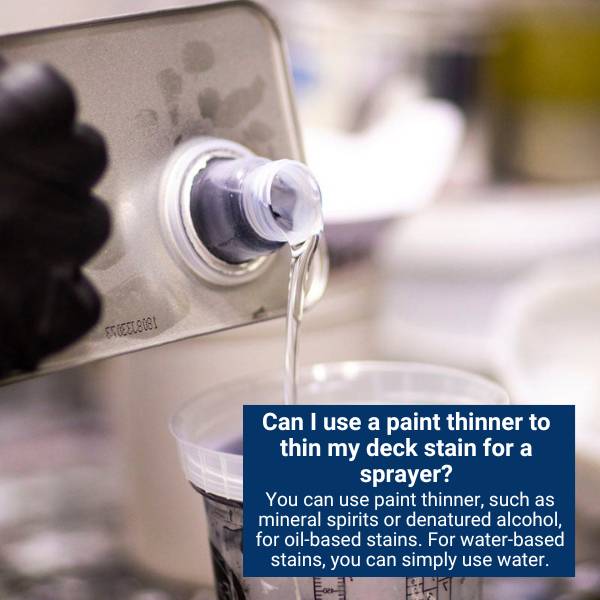
Two types of stain are available in the market; One contains water solvent, and the other contains an oil base solvents and mineral spirits. Therefore, before we jump into the method of stain thinning, you must know what type of stain you have. Besides, knowing the type of stain and identifying the stain solvent is essential before thinning a deck stain. Because using the wrong solvent can result in an uneven application, poor color, or even damage to the wood. So, let’s learn how to thin different types of stains.
Thinning Of Water-Based Deck Stains:
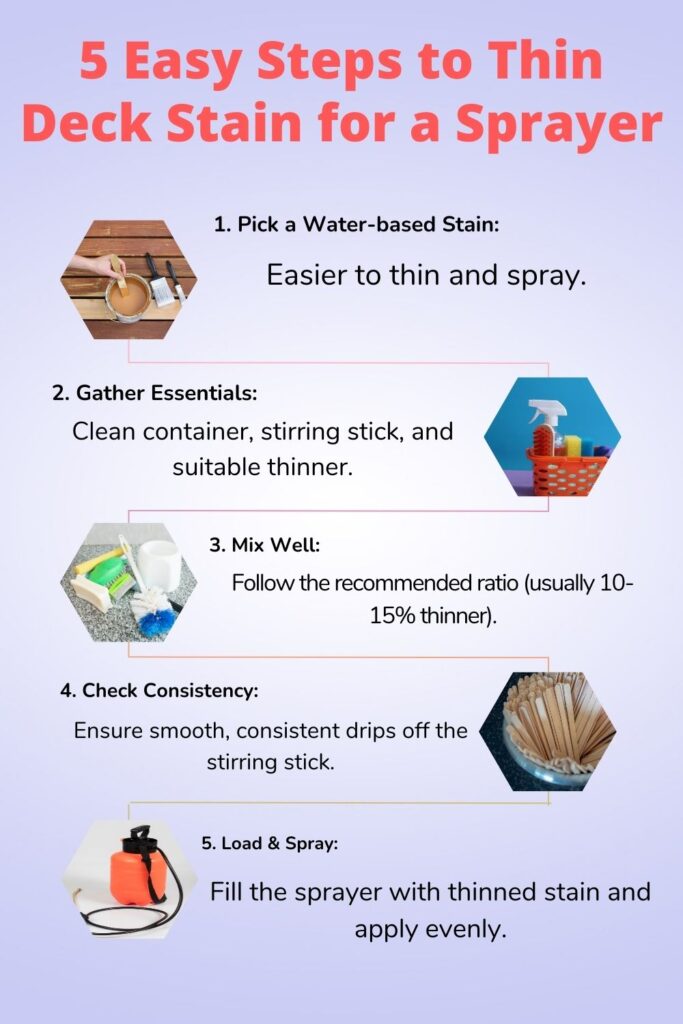
Thinning water-based deck stains is relatively straightforward. You just need a bucket and water to thin the stain, and wear personal protective equipment like gloves and goggles.
- The first step is to give the container a good shake to ensure that the contents are thoroughly mixed.
- Pour some stains using a separate container and add small amounts of water while stirring the mixture thoroughly.
- You must add water slowly to ensure that the consistency of the stain remains smooth and even.
- Continue adding water and stirring the mixture until the desired consistency is achieved.
- Only add a little water, as this can result in a thin and weak stain that may not protect the deck with faded color.
- Test the thinned stain on a small deck before spraying it on the entire surface to ensure the desired color and consistency.

Thinning Of Oil-Based Deck-Stain:
Thinning wood stains is easy, but it requires precision to prevent over-thinning. To get started, gather your tools: a paint bucket, wood stain, plastic funnel, paint thinner, and a paint mixer or turning stick.
- First, open the container of wood stain to access it.
- Next, pour the desired amount of wood stain into the clean paint bucket.
- Use mineral spirits for oil-based stains, and lacquer thinner for lacquer or gel stains.
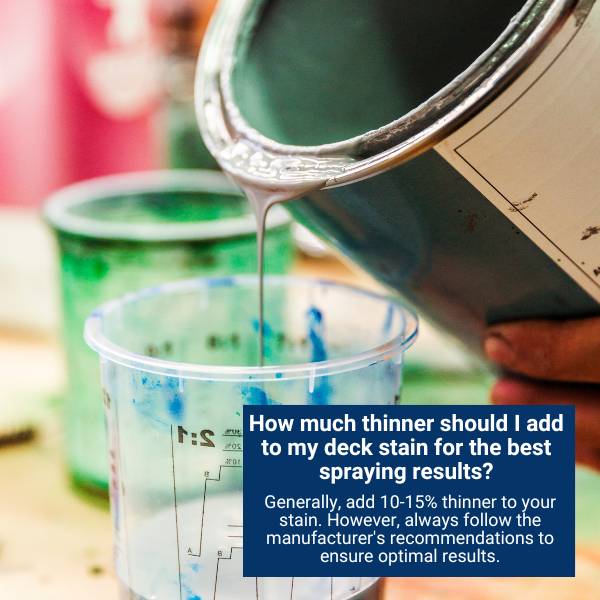
- Measure the paint thinner and pour it into the bucket with the wood stain. Keep the ratio of 1:2 if you want to spray it.
- Stir the mixture with a turning stick or paint mixer to ensure an even flow and color.
- For lacquer stain, pour the mixture from bucket to bucket to prevent bubbles from forming.
- After mixing for 10 minutes, test the diluted wood stain.
- You can add more stain to the mixture and mix it until you get the desired consistency. However, you’re done if it has an even flow and color!

Note:
You may not know this, but after thinning and applying your deck stain, disposing of your used rags is more complex than just tossing them in the trash. Those rags are a fire hazard if you’ve used an oil-based stain! They can only catch fire spontaneously if they’re dried out first. So, take extra precautions by laying them out to dry outside before disposing them. Don’t bunch or fold them up, either. Better safe than sorry!
What Are The Benefits Of Thining Deck Stain?
If you plan to stain your deck, consider thinning the stain. It will make the job easier, but there are also several benefits to thinning deck stains. So, let’s explore some advantages of thinning deck stain and how it can help you achieve the best results for your outdoor space.
1. Control Color Shade:
Diluting wood stain is a fantastic way to better control your plank’s ultimate color. By thinning wood stains, you can apply several lighter coats to slowly make the wood stain darker and eventually create your desired color. Notably, this process can prove difficult when staining large surfaces such as a backyard deck. Large surfaces take more time to stain, especially when applying multiple coats of thin wood stains.
2. Easier Application:
A thinned stain is easier to apply than a thick one. It’s true when staining wood with a large surface area. In addition, a well-thinned stain helps to ensure an even coat without cracks or streaks. Furthermore, unlike thicker coats, it reduces the risk of residue buildup stains being thicker or when multiple.
4. Speed Up Drying And Improve Coverage:
A thick stain takes longer to dry than a thinner stain. Therefore, if you’ve limited time to stain, consider thinning your stain to reduce the time-consuming drying process. On the other hand, a thinned stain delivers better coverage than a thicker one. It is simply because a thinner stain deeply penetrates the wood, leading to nice color saturation.

5. Save Money:
Thinning wood stain eventually saves money. For instance, almost all of Varathane’s 1-quart wood stains have the same price regardless of color. Yet, you can thin your Dark Walnut stain to make it look and feel pretty close to Special Walnut. Besides, you’ll get better coverage after diluting your stain, meaning you won’t need to buy that much. Hence, It is a great option if you’re looking for a ‘standard wood’ color for your small project and can’t use a dark stain under budget.
Conclusion:
Thinning deck stain is an important step in a DIY deck staining project using an HVLP. However, don’t forget to follow the tips and tricks as they will help you achieve the esthetic results. Remember that too much thinning can fade away the color of your stain, so don’t apply a thinned stain without initial testing.

