A wood deck is undoubtedly beautiful, but it’s only attractive if it’s carefully managed yearly. If your deck is beginning to show evidence of damage and tear, some easy upkeep and a new staining or sealant coat might restore its beauty. The job is simple for a do-it-yourselfer project for the weekend. However, for that, you must be wondering how to stain a deck using a brush.
Using a bristle brush, you can spread the stain generously to the planks’ open-end pattern. Start by choosing a brush and making long, clean motions to coat the deck. Then brush three to four planks from one end to the opposite end. To avoid lapping scars, keep the leading edge moist, and don’t use wet stains over dry layers.
Well, that is not it. There are many other tips before staining your deck with a brush. It needs careful strokes and appropriate steps to do the right job. So keep reading to learn how to dye your wooden floor like an expert.
How To Stain Your Wooden Floor Using A Brush?
Brushing is unquestionably the most popular way of deck stain application. Though it’s a simple task, there are a few crucial guidelines to remember.
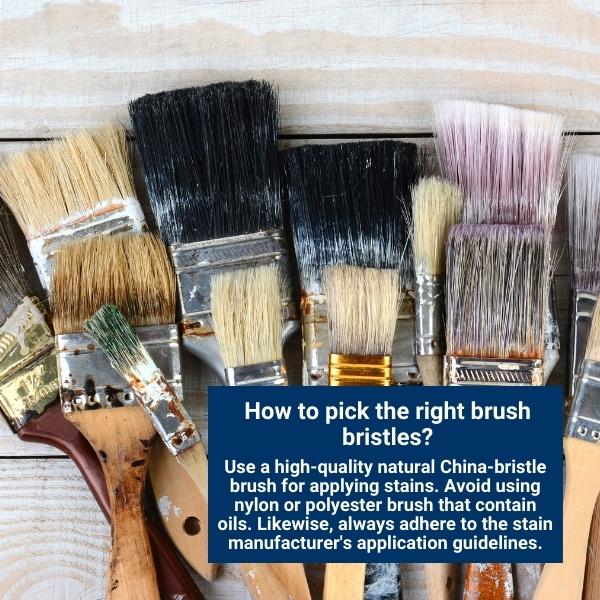
- Use the proper paintbrush type. Organic bristles are necessary for oil-based products, whereas high-quality nylon brushes are suitable for water-based stains. So make sure you pick a brush considering the paint. Avoid doing all staining jobs with the only brush available, ignoring the type.
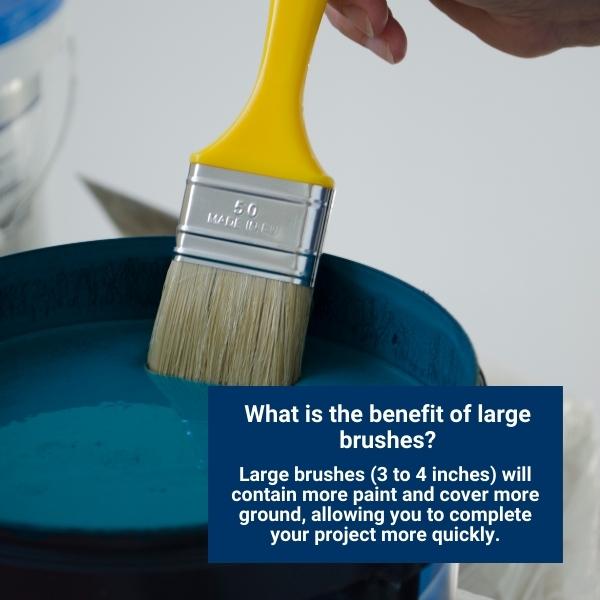
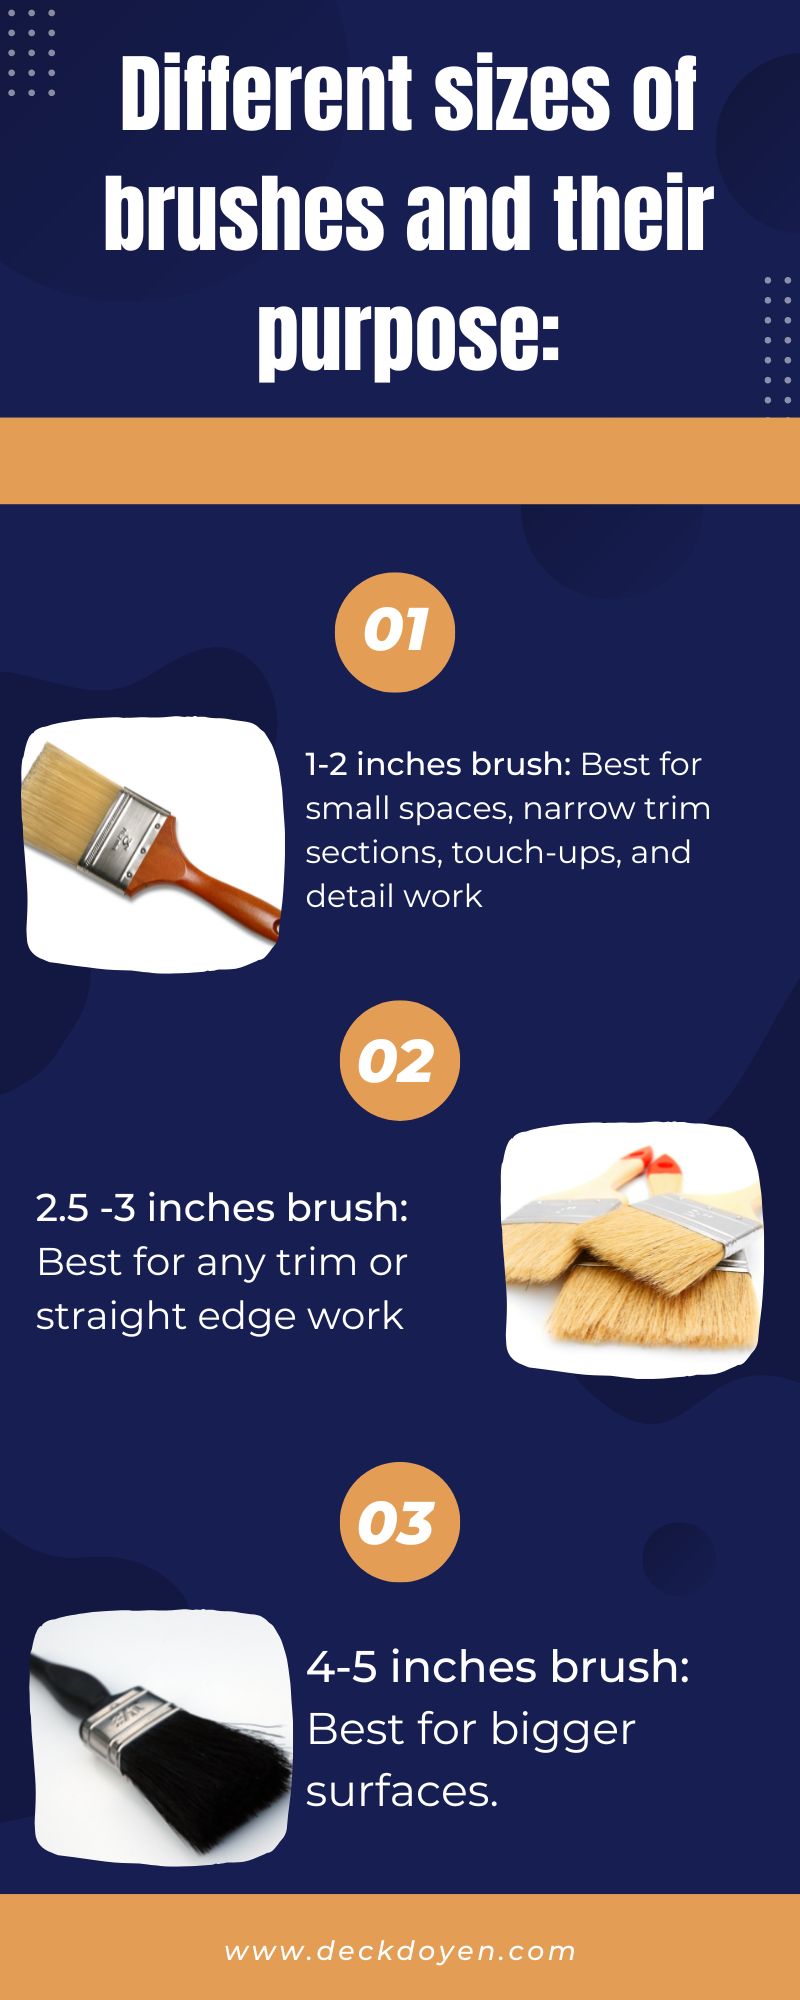
- Use the proper brush width since many sizes are available in the market. A 4′′ brush will give the ideal blend of control and speed. You can also choose a larger one for rough jobs. Otherwise, We recommend using a smaller brush for more intricate regions.
- Always keep a moist edge. If you let the stain dry between strokes, you’ll get ugly brushwork or “lapping marks.”
- For a similar reason, never stop staining a plank halfway. It’s better to wait until it is all coated before stopping.
- Stain 3-4 planks at once with the color. Limiting stain brushing to a single board at a time is inefficient. Covering either three or four panels at once can make bending cumbersome and make maintaining a moist edge more challenging.
- When using a complete bristle tool, work backward. Brush deck stain roughly half a foot in front of the previously completed area, melding the two parts perfectly.
- Apply the stain evenly and as fast as feasible.
- Never sink your brush more than three-quarters of the way up the bristles in the paint bucket. It is preferable to dip the paintbrush regularly. Too much strain on a brush causes uneven stain application.
- Wait for one application of wood stain to dry before applying another. Remember that over-brushing the color is not always better. When exposed to moisture, over-brushing of paint can peel or crack, or it could fail to dry correctly. Allow at least three days for the stain to cure before placing the patio and lawn furniture on top and getting the deck back into service.
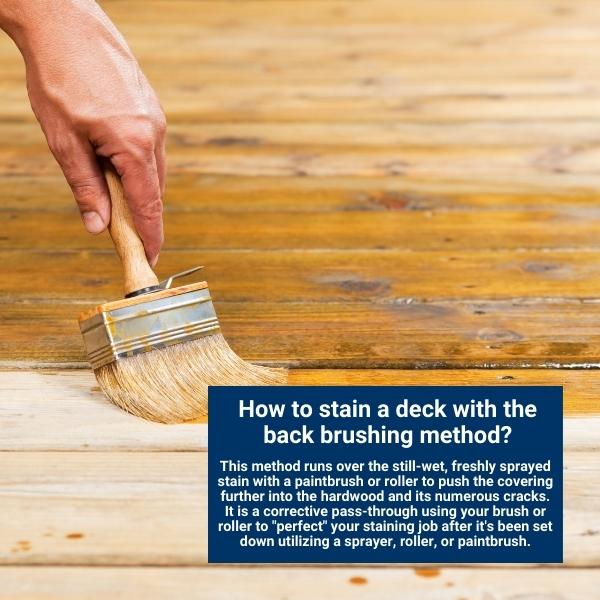
What Is Back Brushing?
The best approach to guarantee complete, equal, in-depth coverage is to use a technique called “back-brushing” or “back-rolling,” based on the instrument. This method runs over the still-wet, freshly sprayed stain with a paintbrush or roller to push the covering further into the hardwood and its numerous cracks.
It isn’t a new coat but a corrective pass-through using your brush or roller to “perfect” your staining job after it’s been set down utilizing a sprayer, roller, or paintbrush. Back-brushing should ideally be done portion by portion using a one-two punch, with one person applying the color and another instantly back-brushing the coat afterward.
So, as convenient as spray staining your hardwood floor is, you mustn’t rely only on this method for wood staining. Alternatively, it would help if you chose to start by spraying and finish your job with a brush.
One of the benefits of using a brush is that the sweeps push the pigment ultimately into the grain. If the stain isn’t lying down as evenly as you’d want, you can also back-brush the area again to smooth out the spread of the color.
Also Read: Best Temperature Ranges For Staining Deck
Benefits Of Using A Brush To Stain Deck:
When staining a deck, fine brushes have advantages that rollers do not. The small hand-held design of meetings allows you to have greater control over their strokes. It enables you to make more precise strokes and reach intricate crevices, nooks, and crannies. The structure of a brush’s hair also helps make it easy to give full coverage to snugly and difficult-to-reach edges like areas between planks, corners, trim, etc.).
Therefore, professionals use brushes to cut in borders and tackle minor points and touch-ups due to their control and flexibility. Encounters become even handier when staining a deck. Unlike paint, the stain is intended to infiltrate the material’s pores to give a greater degree of protection. Of course, running over a panel with a single swipe may not let the stain sink in completely. Brushes are helpful in this situation.
You may move the stain in a specific region back and forth with a meeting, allowing it to penetrate deeper into the deck’s lumber. Where a tiny brush is necessary for getting into those little, tight spots, a large staining brush coupled with an extended pole can be the best tool for painting your deck, particularly for back-brushing.
Also Read: How Can You Build A Deck Without Concrete? Step By Step Guide
FAQs:
How To Avoid Lap Marks While Staining A Deck?
Working steadily and carefully withdrawing the paintbrush from the board whenever it runs out of stain can help you avoid lap marks. You can also merge the lap markings by removing the paint from the dense portions of the lap mark and adding more color to the lighter parts.
What Is The Best Brush For Cutting In?
Professional painters always use a brush that is around 3 and 4 inches broad when working parallel to the wall using a brush. It enables you to cushion the cut-in part by one or two inches and straddle the roller.