Staining a deck is one task people love to do without needing a professional assistant. According to your preferences, a roller might seem easy to go with. However, things might get tricky around the edges and corners. Therefore, following an adequate procedure to stain a deck using a roller becomes necessary. But which steps to follow exactly?
For staining a deck, first, pick the correct roller size to carry an even stain distribution. Next, know the stain type and prepare the deck surface. Now, mark the designated area, roll stains in a bucket and then spread them to a surface at a considerable speed for better results, leaving a thin coating in its trail. Lastly, let it dry and apply a second coat.
Thus, it’s vital you get to discover cut-in staining techniques and drying time for a second coat. Besides, all stains have a different consistency, so rolling a plain surface is a bit more tricky than you might have thought. So, for your ease, I have covered each step by providing an expert guide as follows:
How To Stain A Deck Using A Roller?
Wooden deck staining using a roller is simpler and quicker than doing the job with a brush, as it saves you from a lot of trouble. However, you will need a brush beside the roller to help you with the staining crevices and corners. You can also use a sprayer first. Moreover, there are many ways a roller can be useful in staining a deck. Let’s read about different deck staining techniques using a roller.
Roller And Brush Method:
A roller and brush combination is the best of all techniques to paint your deck like an expert. Here are the steps to do it appropriately. These steps will take you closer to the perfect staining job.
Step 1: First, you need to choose the type of stain you will use – water-based or oil-based. The stain’s quality reflects the quality of the stain’s sheen, longevity, waterproofing, fungus, and mold resistance. By considering it, stick to premium brand stains and avoid the less expensive options.
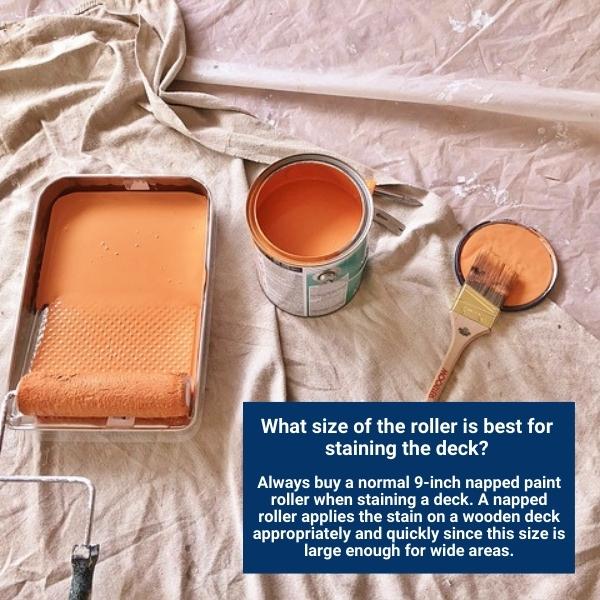
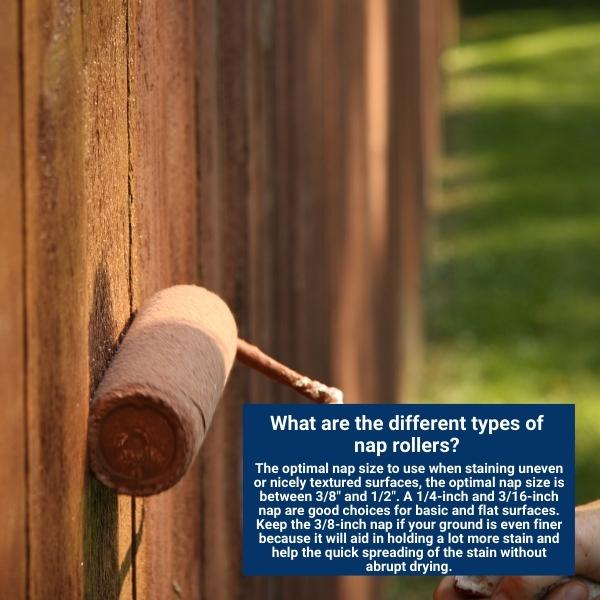
Step 2: Then you will have to pick a 9-inch roller, a 4 inches brush, and an extension rod. An extension rod can help you roll the pad without messing yourself with stains on your dress.
Step 3: After collecting all the necessary things. It’s time to prepare your deck to replenish its beauty with stains. Before starting, make sure the surface you’ll be working on is clean. Keep in mind that you can’t start with staining without preparing it for a better result. You must use the following steps to prepare your deck wood.
- Clean the surface and eliminate fungal spores
- Get rid of old stains
- Apply wood brightener
- Rinse completely
- Check for drying
Lastly, Check the weather report to finish your project. Ensure there won’t be any rain until the next day before you start since most stains need at least a day to heal.
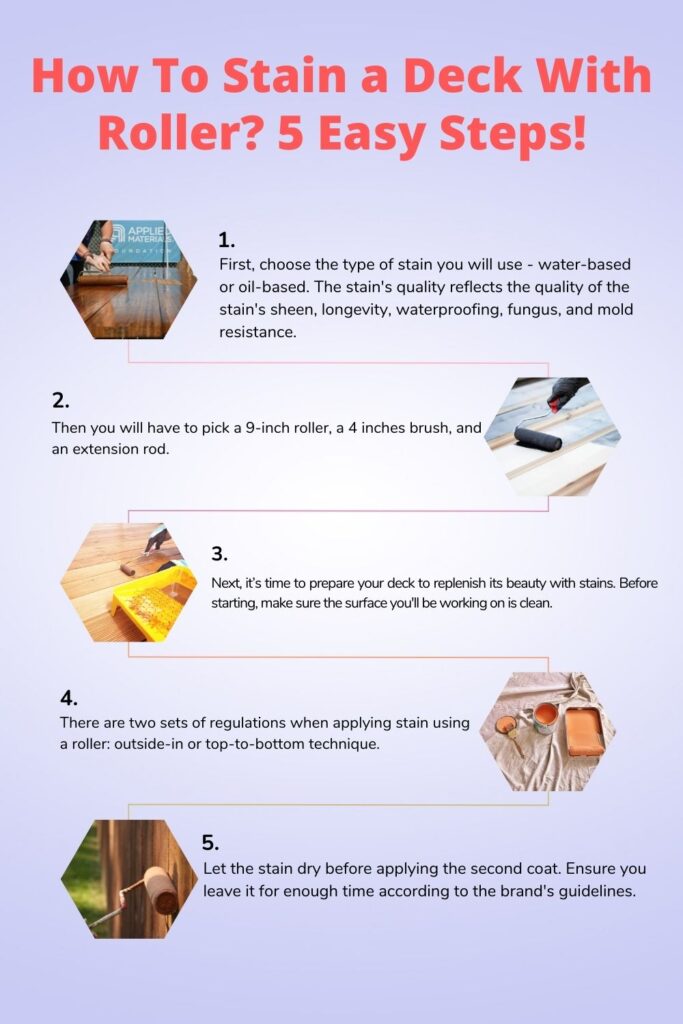
Step 4: It’s ready to start working, but where to start? Most professionals adhere to two sets of regulations. The initial step is to start with the outside-in. It implies that you should start at the house and proceed toward the deck stairs. You won’t be able to paint, or rather stain, yourself into a corner as a result.
To work from top to bottom is the second rule. It keeps splatters from above from spoiling a space that is already painted. It implies starting with benches, stair railings, and any other accessories. The deck would come in second, then the steps, and lastly, any structure or decoration surrounding the deck’s foundation. As a result, you’ll start with your brush.
Coating, or staining, the border between two spaces, like a floor’s edges and walls corners, and the roof is referred to as “cutting in.” Suppose you are staining the deck’s border adjacent to the room’s wall in this instance. Somewhere along the edge, paint a 3-4″ wide line of stain.
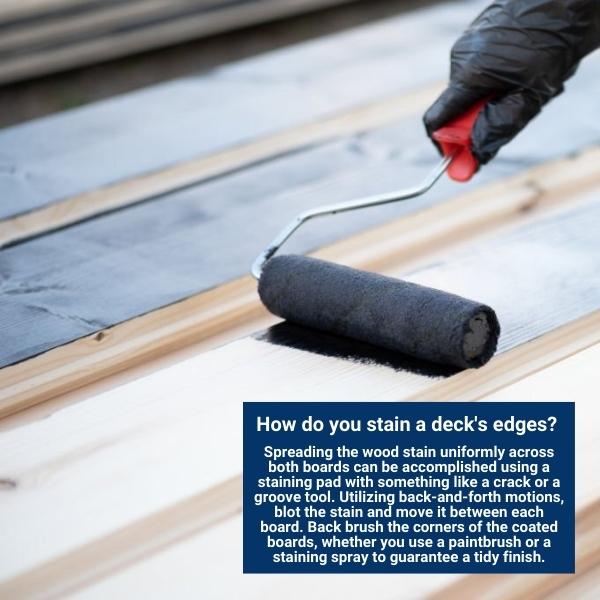
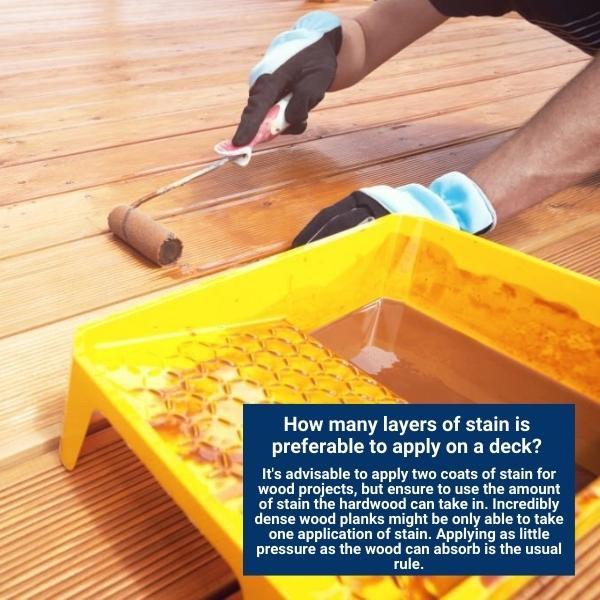
Start by dropping the stain into the paint tray; this will provide equal loading on the roller. Fill the roller to the brim, then use the tray’s edge to remove the extra. Due to the area between each hardwood plank, you’ll probably lose so much stain via the gaps. Cover the area beneath your deck with plastic sheeting to prevent this.
Each application should not exceed a square space three panels broad. When you need to exert pressure to create an even layer of stain, it’s a moment to refill the pad with stain. You must back brush before reloading and staining the subsequent portion.
Also Read: Should You Power Wash A Deck? Problem Solved!
Step 5: Now, it’s time to let the stain dry before you apply the second coat. Ensure you leave it for enough time according to the brand’s guidelines. Once it’s done, remember that the stain requires time to thoroughly cure before being put through the harshness of foot activity and deck floors. Before opening the deck for operation, ensure that you give it at least 24 hours to cure. Remember to follow the instructions for your particular stain, as the curing time may differ.
Spray And Roller Method:
The spray and roller method is a terrific approach to providing your hardwood floors with a flawless, wonderful stain finish that will improve their aesthetics and provide long-lasting protection. Using paint rollers is beneficial when using spray to color your deck. Here is the breakdown of steps for newbies to stain like a pro.
Step 1: The roller and deck preparation selection before stain will remain the same as the last method. So after doing that, start staining. Use a garden sprayer to apply stain to an area of the deck. It enables you to precisely regulate the amount of stain applied to the surface.
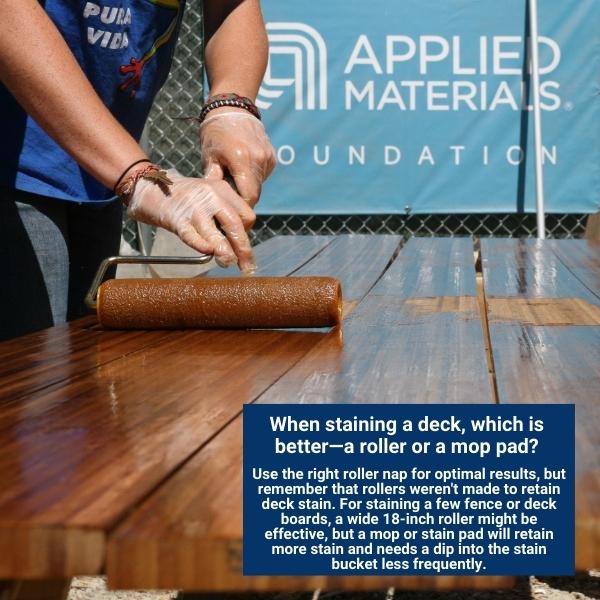
Step 2: Use a 4-foot pole and a paint roller to stain the area. Since tiny droplets from a sprayer may not spread out and soak in equally, this helps spread the stain more evenly.
Step 3: Continue going overboard by using a paintbrush. The bristles’ friction will encourage the wood’s pores to absorb more pigment, which is the intended result.
Also Read: Cheapest Ways To Build A Deck In 2022
Step 4: Repeat the procedure on a different deck piece, being careful to blend the intersections of the two parts.
What Are The Pros And Cons Of Using A Roller For Deck Staining?
If you are confused about the staining tool, You can decide whether you prefer to use a roller or a brush to apply the paint or stain when repairing a deck by reading the pros and cons.
You can paint at least twice as quickly with rolling as you can with a brush. You will also discover that you may paint difficult-to-reach spots, particularly those high places you can’t reach on the roof. Whether you are choosing stain or paint, rollers are fairly affordable to purchase and provide excellent coverage for your deck. The drawback of rolling your deck is that it won’t cover effectively on uneven surfaces. You might need to review your deck more than once.
Rolling is not for you if you don’t want to do the staining wasting a lot of stains because it requires more than brushing. You must be cautious when using the roller on the deck to prevent it from slipping on the deck’s wooden edge. As a result, you may need to stain or coat your decking more slowly and risk damaging your roller.
So how do you decide which tools to utilize for deck refinishing? You can use any combination of the ways on your deck. Try utilizing the roller and brush combination to access those difficult areas if your deck is covered. Consider employing the sprayer and roller for back brushing on your broad areas, such as the deck’s main area. It will enable you to ensure that the entire deck is painted or stained in the color of your choice.
Conclusion:
If you are going to stain your deck for the first time, the roller is the best tool for you. It’s easy to handle and allows a fine staining job effortlessly. It also takes less time than any other staining tool. Besides, you only need to follow the tips like quick application, appropriate drying time, and optimum rolling speed to do the task efficiently. If you are confused about picking up a tool for staining or don’t know the right steps, take the roller and begin the job following authentic guidelines.