Garden decking is a smart investment as it increases the value of your property and gives you the ideal space for entertaining your guests. If you lately thought about a garden upgrade, you might feel the urge to ask, how to lay decking on grass?
Begin laying the deck with an even and leveled surface, and then choose deck laying option. Measure and cut the decking boards to the proper size before fitting them with screws. Assemble them in their respective positions and secure them well. Ensure to leave a gap in between for easy water drainage.
Undoubtedly, decking is effective for adding functional space to your garden. This article discusses all the involved procedures in detail for your comfort and ease.
Also Read: What To Put Under Deck To Prevent Weeds? 6 Different Options
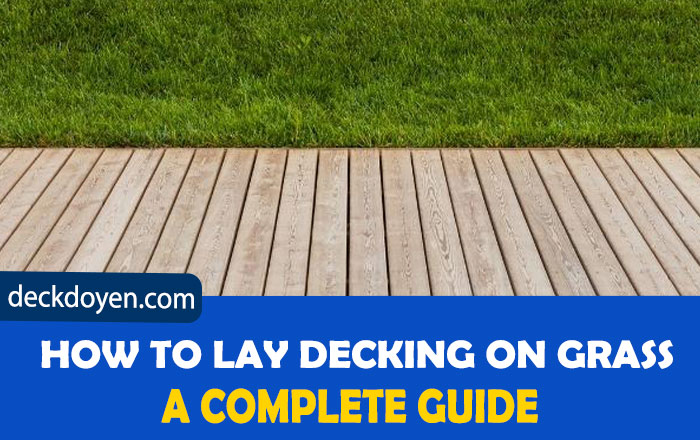
Laying Decking On Grass; A Complete Guide!
The addition of a deck can transform the entire appearance of your garden, allowing you to have a perfect cozy outdoor space. You can use it to arrange a small family get-together or enjoy a warm sunny day. It sounds fun, but planning a deck from scratch can become slightly complicated, and you might be clueless about where and how to start.

When it comes to laying decking on grass, there are a lot of steps involved in the process. From planning your deck to calculating how much decking you require and preparing the garden and grass for deck installation. A complicated deck setup might be impossible without professional help. But, if you are going for a simpler one, the following steps will make the building process much easier for you. Let’s start!
Step One; Prepare The Site Of Deck:
Before you start constructing the deck, the first necessary step is preparing your site. To do it, measure the area the deck will cover, followed by hammering a peg in each corner of the deck. Afterward, use a builder’s line to get an outline of the size and shape of your decking site.
Next, eliminate all the unwanted plants, weeds, and rocks blocking the site and dig down about 50 mm deep. Also, clear away the leftover turf to have a clean and even foundation. You can use a spirit level to check if the ground is leveled or not. If it is uneven, you can level it out by adding extra soil or moving it around it to flatten the surface.
Step Two; Choose Your Deck Laying Option:
There are two options for laying your deck, and you can pick one of them that meets your criteria. You can build it directly on the ground or top of risers as a floating deck. If you are going with the first option, it might need extra maintenance as it is prone to moisture absorption. Additionally, make sure you cover that specific area with weed control fabric. Moreover, add about 50 mm of gravel on the top for protection against water buildup.
For the second option, you will have to create concrete pads so the deck can sit on its top. It will minimize the chances of moisture getting absorbed into the frame and damaging it. Also, squaring the site will help you position the pads in the correct place.
Step Three; Measure And Cut The Deck Boards:
Once you pick your option for laying the deck, it is now the time to measure and cut the deck boards to the desired length. Mark the deck boards with the correct measurement with a pencil, and then take a combination square for drawing precise lines across the boards. Ensure to double-check the measurements before cutting them to decrease the chances of any error.

Do not forget to leave some gaps for expansion (5-8mm) in between the deck boards. This gapping is crucial as it will allow the water to run off rather than pooling on the surface. These will also provide a space for the decking to expand and contract in varying weather conditions and minimize the damage that might happen to them.
Step Four; Assemble The Deck:
Proceeding to the assembly part, measure the outer frame of your decking and then cut it to the correct size. You will have four outer joists in total, and the number of inner joists can vary with the design of your deck. Mark the place with a pencil where the outer joists meet the inner joists of the frame at the right angle. Also, make sure that the marks are perfectly aligned with the center of the adjacent joist, making them eight altogether.
Now, take a flat wood bit to drill recesses into the marks you just created. They should be deep enough so that the screw heads sit flush with the surface. These points are where the coach screws will go, joining the outer joists and securing the inner joists in place.
Also Read: Are Decking Screws Rust Proof
Step Five; Secure And Sand The Deck Boards:
Once your frame is ready, you can lay the deck boards in their intended positions. Starting from one corner lay the first board across the inner joist. Remember that the deck boards should always be directed opposite to the inner joists.

Secure the deck boards by screwing them properly into every joist that it covers along with the frame. You might have to use two screws on each side of the board to provide additional security. Furthermore, do not forget to leave an expansion gap between the boards.
Also Read: Can Deck Screws Be Used For Framing?
Lastly, smooth down all the cut ends with sandpaper. It will provide the deck with a cleaner finishing look. Also, you can apply a grain preserver to protect the deck from decaying.
Conclusion:
Decking can enhance your garden and create an outdoor dining or entertainment space. For whatever purpose you want to use it, it is always wise to sketch out an overall plan before turning it into a reality. It might seem impossible at first. But, with the right steps, you can achieve your goal. You also need to consider the location, design, materials, and budget for your decking project for making your dream come true.
Also Read: Should You Power Wash A Deck?